Superb
|
|
|
|
|
| Tightening torque |
| Component | Nm |
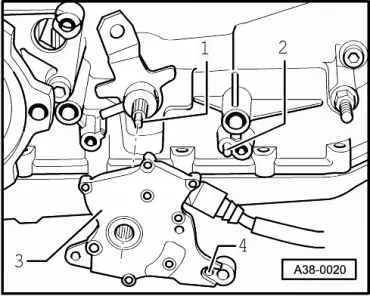
| Multi-function switch -F125- to gearbox | → Chapter |

|
|
|
|
|
| Tightening torque |
| Component | Nm |
| Multi-function switch -F125- to gearbox | → Chapter |