
Legacy Outback Ltd Sedan F4-2.5L SOHC (2000)
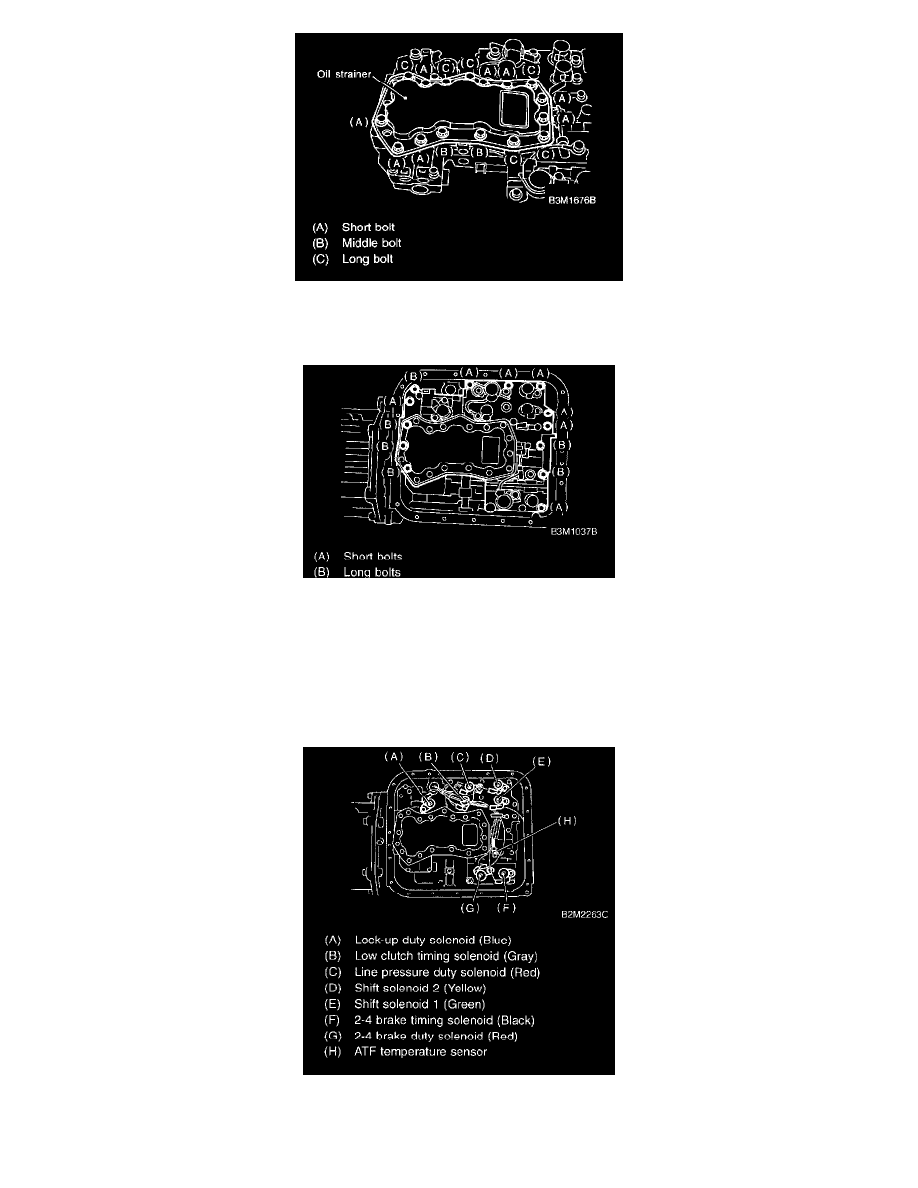
2. Install oil strainer.
Tightening torque: 8 ± 1 Nm (0.8 ± 0.1 kg-m, 5.8 ± 0.7 ft. lbs.)
3. Install valve body to transmission case.
1. Temporarily tighten the valve body on the transmission case.
CAUTION: When installing control valve body, be careful not to interfere with transfer duty solenoid wiring (brown).
NOTE: Align manual valve connections.
2. Tighten the valve body to the specified torque.
Tightening torque: 8 ± 1 Nm (0.8 ± 0.1 kg-m, 5.8 ± 0. 7 ft. lbs.)
4. Connect harness connectors at 8 places. Connect connectors of same color, and secure connectors to valve body using clips.