
Outback F4-2.5L (2008)
Cross-Member: Service and Repair
Front Suspension
Front Crossmember Support Plate
Front Crossmember Support Plate
REMOVAL
1) Lift up the vehicle.
2) Remove the front under cover.
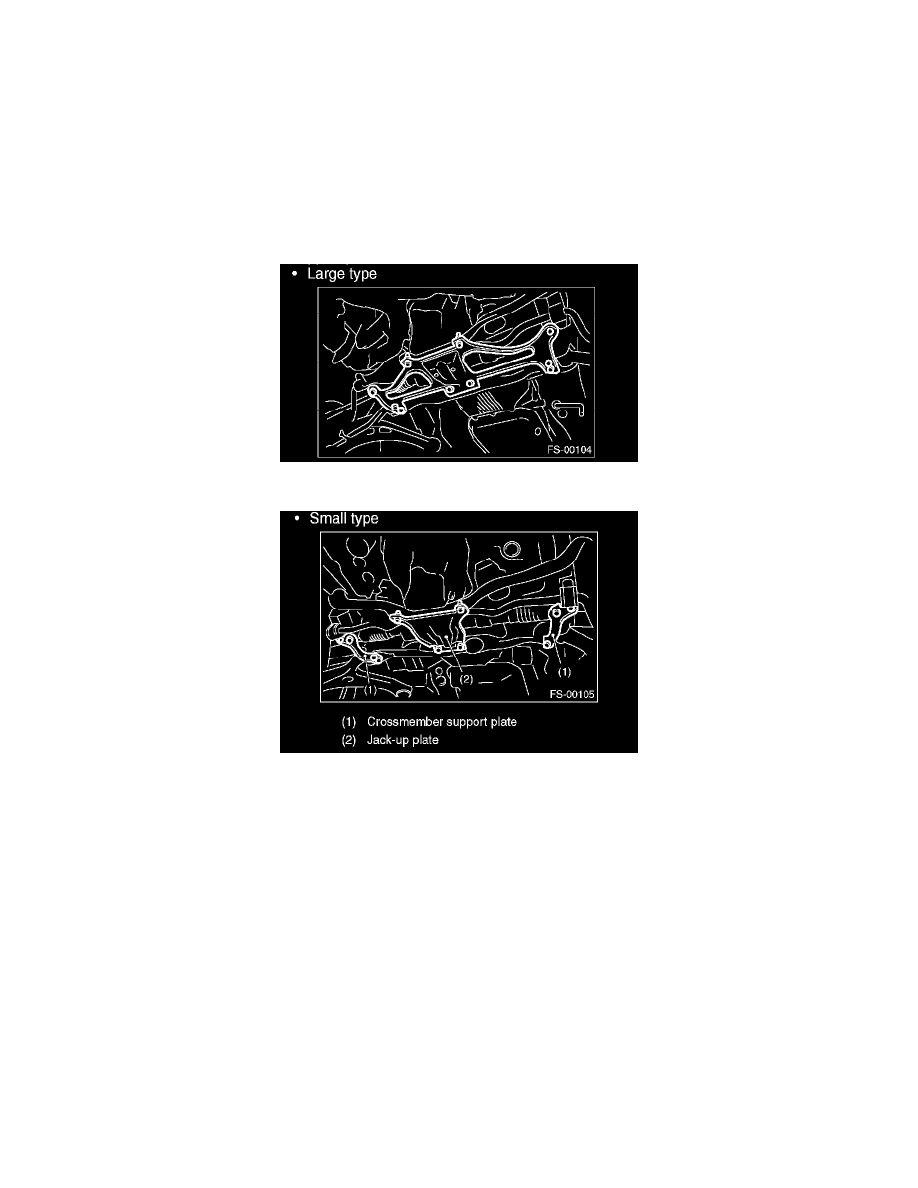
3) Remove the bolt and remove front crossmember support plate.
^
Large type
^
Small type
INSTALLATION
Install in the reverse order of removal.
NOTE: Tighten the small type crossmember support plate together with stabilizer bracket.
After installing the stabilizer bracket to the cross-member, tighten the crossmember support plate together.
Tightening torque:
Crossmember support plate: 60 N-m (6.1 kgf-m, 44.3 ft-lb)
Crossmember support plate (Tightened together with the stabilizer bracket): 25 N-m (2.5 kgf-m, 18.1 ft-lb)
Jack-up plate: 60 N-m (6.1 kgf-m, 44.3 ft-lb)
Front Crossmember
Front Crossmember
REMOVAL
1) Lift up the vehicle, and then remove the front wheels.
2) Remove the front exhaust pipe.
3) Remove the front crossmember support plate.
4) Remove the front stabilizer.
5) Disconnect the tie-rod end from housing.
6) Remove the front arm.
7) Remove the nuts attaching the engine mount cushion rubber to crossmember.