
Outback F4-2.5L (2008)
8) Remove the steering universal joint.
9) Disconnect the power steering hose from steering gearbox.
10) Lift the engine approx. 10 mm (0.39 in) using a chain block.
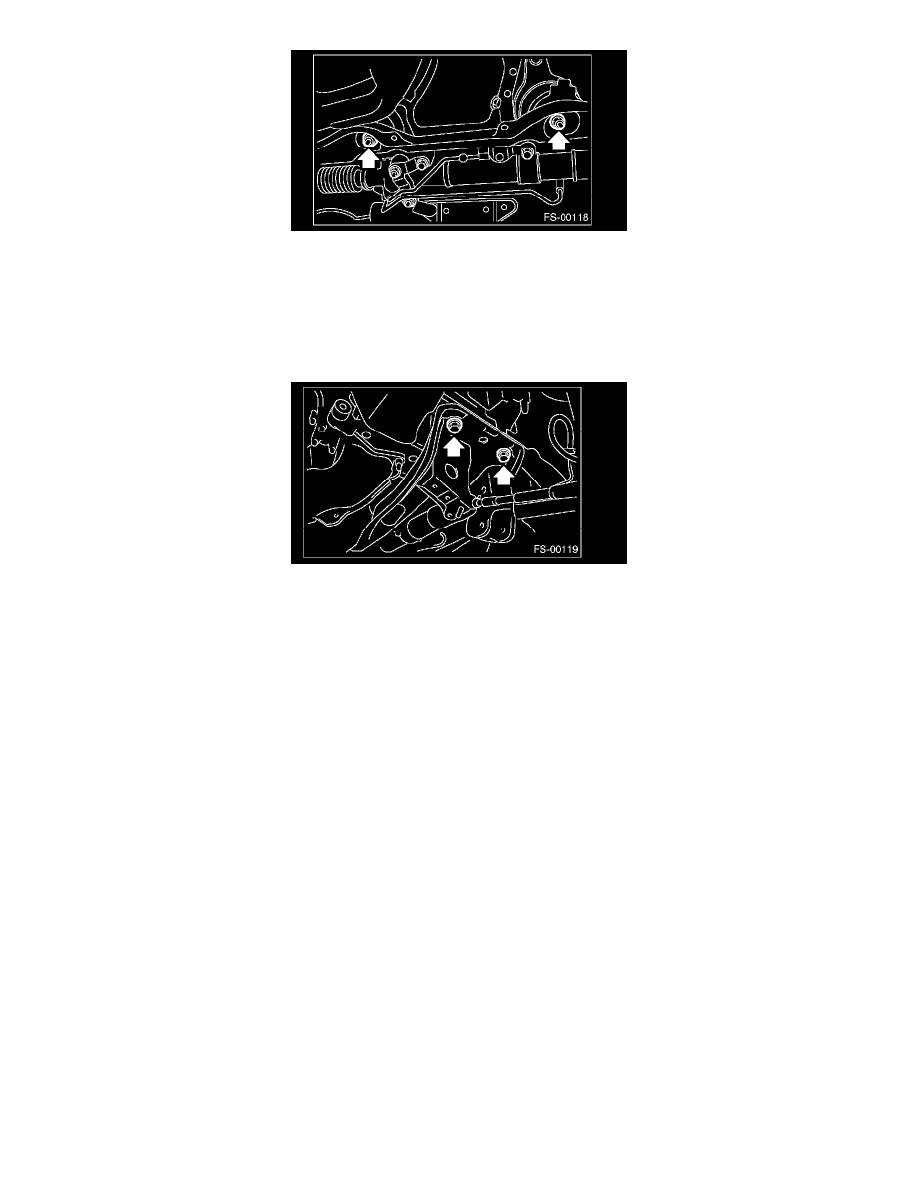
11) Support the crossmember with a jack, remove the bolts securing crossmember to body, and then gradually lower the crossmember with steering
gearbox as a unit.
CAUTION: When removing the crossmember downward, be careful that the tie-rod end does not interfere with drive shaft boot.
INSTALLATION
1) Install in the reverse order of removal.
NOTE:
^
Use a new bolt and self-locking nut. For parts which are not reusable.
^
Always tighten the stabilizer bushing in the state where the vehicle is at curb weight and the wheels are in full contact with the ground.
Tightening torque:
Crossmember to body: 95 N-m (9.7 kgf-m, 70.1 ft-lb)
Engine mounting to Crossmember: 75 N-m (7.6 kgf-m, 55.3 ft-lb)
Front arm to Crossmember: 95 N-m (9.7 kgf-m, 70.1 ft-lb)
Front arm to Support plate: 88 N-m (9.0 kgf-m, 64.9 ft-lb)
Support plate to Body: 150 N-m (15.3 kgf-m, 110.6 ft-lb)
Tie-rod end to Housing: 27.0 N-m (2.75 kgf-m, 19.9 ft-lb)
After tightening to the specified torque, tighten the castle nut further but within 60° until the hole in the ball stud is aligned with a slot in castle nut
Universal joint: 24 N-m (2.4 kgf-m, 17.7 ft-lb)
Stabilizer bracket: 25 N-m (2.5 kgf-m, 18.1 ft-lb)
Stabilizer link: 45 N-m (4.6 kgf-m, 33.2 ft-lb)
Power steering hose to Steering gearbox: 15 N-m (1.5 kgf-m, 11 ft-lb)
2) Purge air from the power steering system.
3) Inspect the wheel alignment and adjust if necessary.
INSPECTION
Check the crossmember for wear, damage or cracks, and then repair or replace if faulty.