
Outback F4-2.5L (2008)
2) Remove the V-belts.
3) Remove the crank pulley.
4) Remove the timing belt cover.
5) Remove the timing belt.
6) Remove the cam sprocket.
7) Remove the timing belt cover No. 2 (LH).
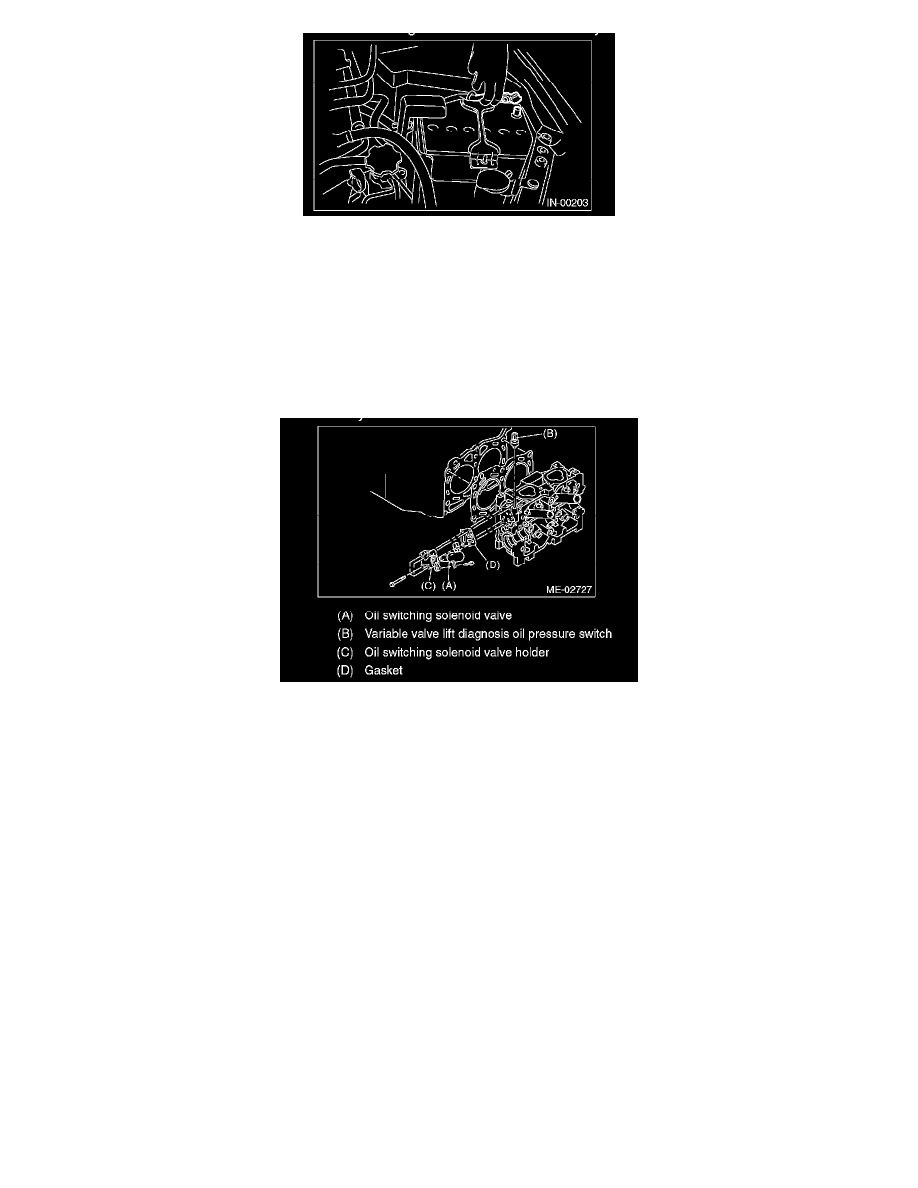
8) Disconnect the connector from the oil switching solenoid valve.
9) Remove the oil switching solenoid valve.
10) Remove the variable valve lift diagnosis oil pressure switch.
11) Remove the oil switching solenoid valve holder from the cylinder head.
B: INSTALLATION
1. RH SIDE
Install in the reverse order of removal.
NOTE: Use anew gasket. Apply liquid gasket to variable valve lift diagnosis oil pressure switch threads. Install the oil switching solenoid valve to the
holder, then install it to the cylinder head.
Tightening torque:
T1 8 N-m (0.8 kgf-m, 5.9 ft-lb)
T2 10 N-m (1.0 kgf-m, 7.4 ft-lb)
T3 17 N-m (1.7 kgf-m, 12.5 ft-lb)
T4 18 N-m (1.8 kgf-m, 13.3 ft-lb)
Liquid gasket THREE BOND 1324 (Part No. 004403042)