
Equator 2WD V6-4.0L (2009)
Condenser HVAC: Service and Repair
Condenser: Removal and Installation
REMOVAL
1. Discharge the refrigerant. Refer to [HFC-134a (R-134a) Service Procedure].
2. Remove the radiator.
CAUTION: Be careful not to damage the core surface of the condenser and the radiator.
3. Disconnect the high-pressure flexible A/C hose and the high-pressure A/C pipe from the condenser.
CAUTION: Cap or wrap the joint of the pipes with suitable material such as vinyl tape to avoid the entry of air.
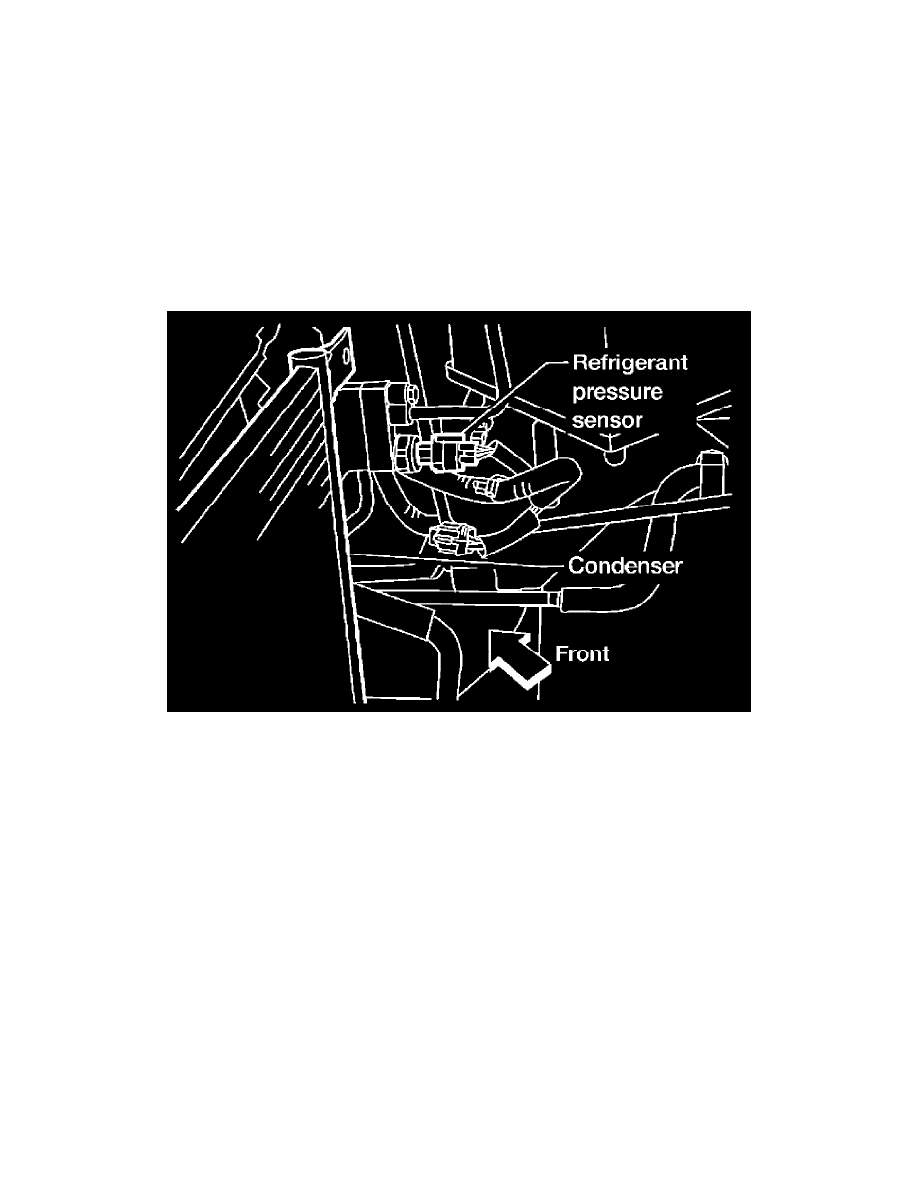
4. Disconnect the refrigerant pressure sensor harness connector. Expand image
5. Remove the refrigerant pressure sensor from the condenser.
6. Lift the condenser out of the mounting grommets and remove the condenser.
INSTALLATION
Installation is in the reverse order of removal. Refer to [Refrigeration System: Component].
CAUTION:
-
Replace the O-rings of the high-pressure A/C pipe, refrigerant pressure sensor, and high-pressure flexible A/C hose with new ones, apply
compressor oil to them for installation.
-
After charging refrigerant, check for leaks.
-
Replace the mounting grommets as necessary.