
Equator 2WD V6-4.0L (2009)
Control Arm: Service and Repair
Lower Link: Removal and Installation
Lower Link: Removal and Installation
REMOVAL
1) Remove the wheel and tire using power tool.
2) Remove lower shock absorber bolt.
3) Remove stabilizer bar connecting rod lower nut using power tool, then separate connecting rod from lower link.
4) On 4WD models, remove the drive shaft.
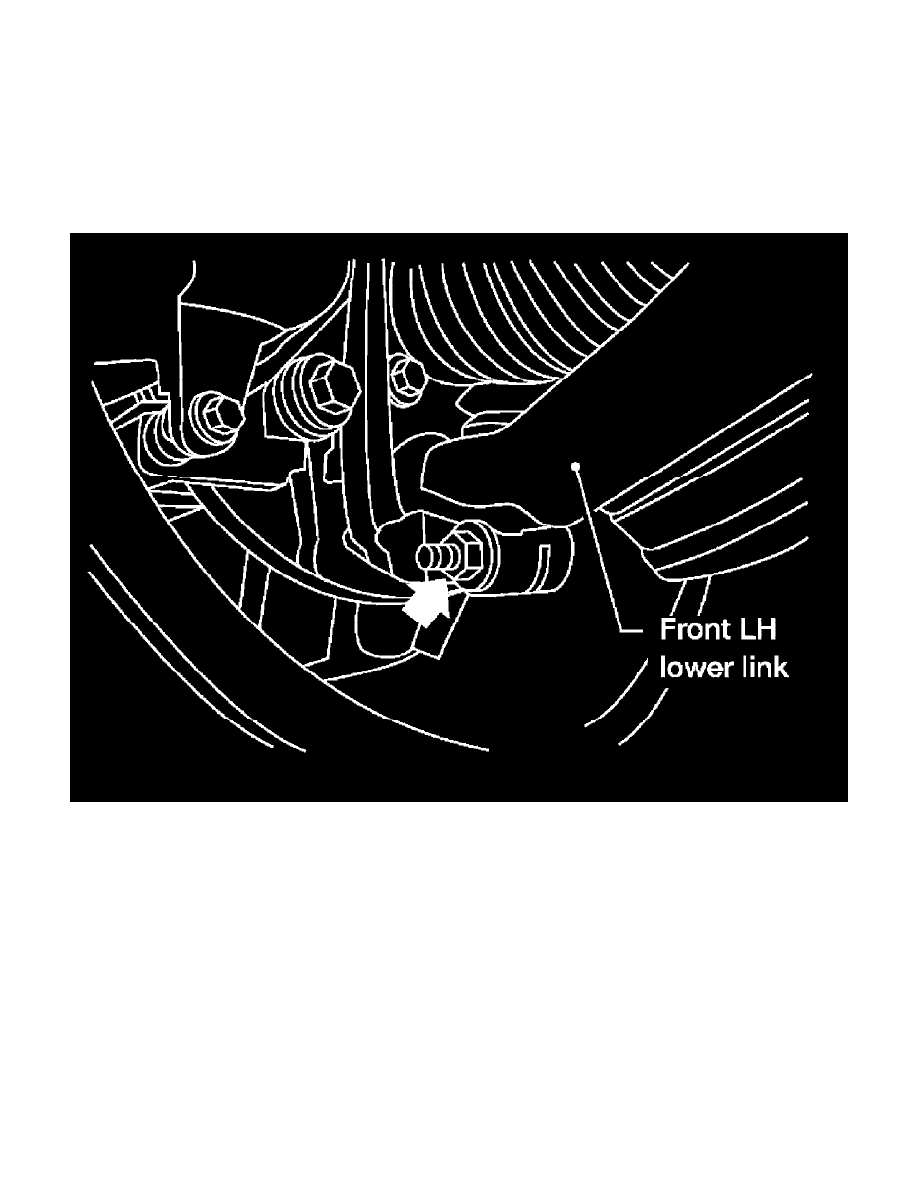
5) Remove pinch bolt from steering knuckle using power tool, then separate lower link ball joint from steering knuckle.
6) Remove lower link adjusting bolts and nuts, then the lower link.