
Equator 2WD V6-4.0L (2009)
^
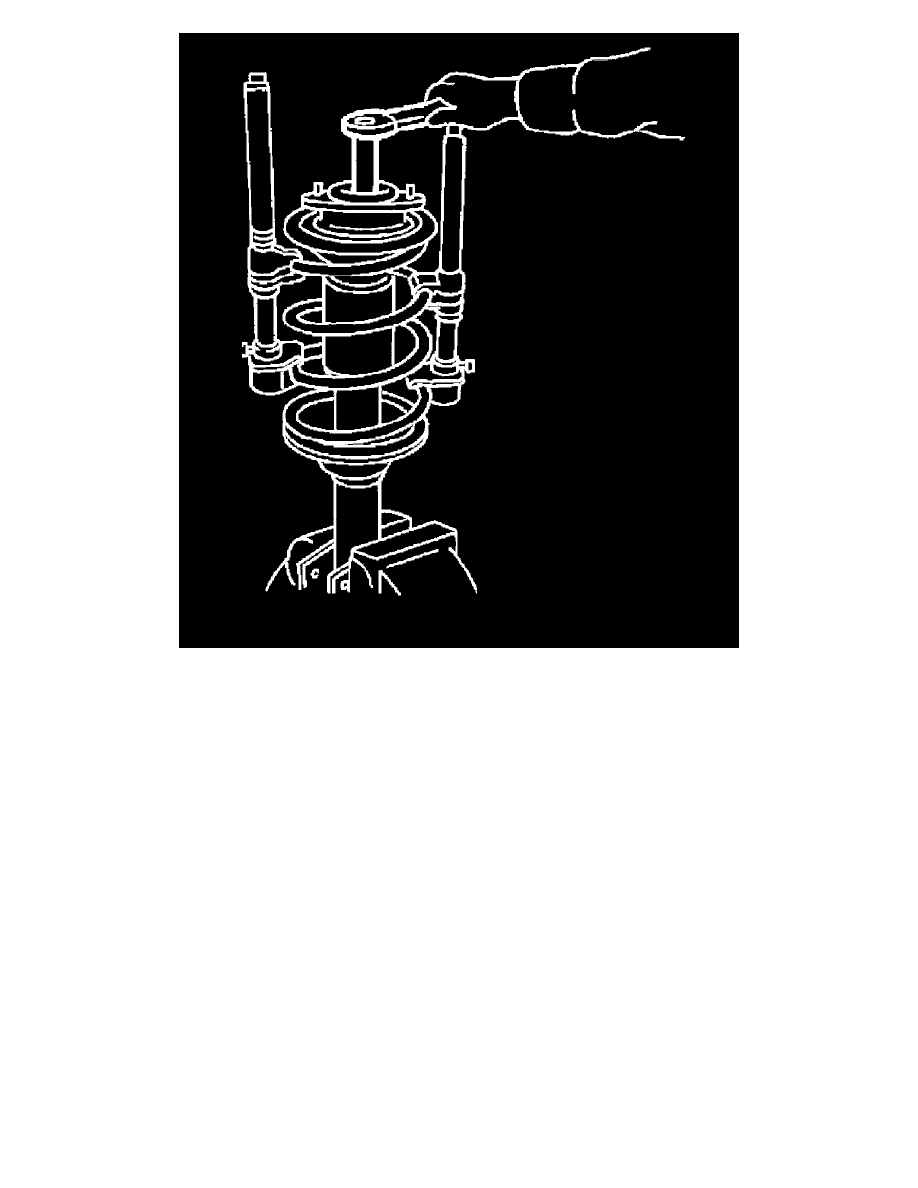
Discard the piston rod lock nut, use a new nut for assembly.
4) Remove the components from the shock absorber.
^
Keep the spring compressed in the commercial service tool if reusing it for assembly.
INSPECTION AFTER DISASSEMBLY
Shock Absorber Assembly
^
Check for smooth operation through a full stroke, both compression and extension.
^
Check for oil leakage on welded or gland packing portions.
^
Check piston rod for cracks, deformation or other damage and replace if necessary.
Mounting Insulator and Rubber Parts
Check cemented rubber-to-metal portion for separation or cracks. Check rubber parts for deterioration and replace if necessary.
Coil Spring
^
Check for cracks, deformation or other damage and replace if necessary.
^
Check the free spring height.
Front spring free height
2WD: 345.4 mm (13.6 in)
4WD: 356 mm (14.0 in)
ASSEMBLY
1) When installing coil spring on strut, it must be positioned as shown.