
Equator 2WD V6-4.0L (2009)
8) Wrap a shop rag around the tip of the air gun and the cooler outlet hose.
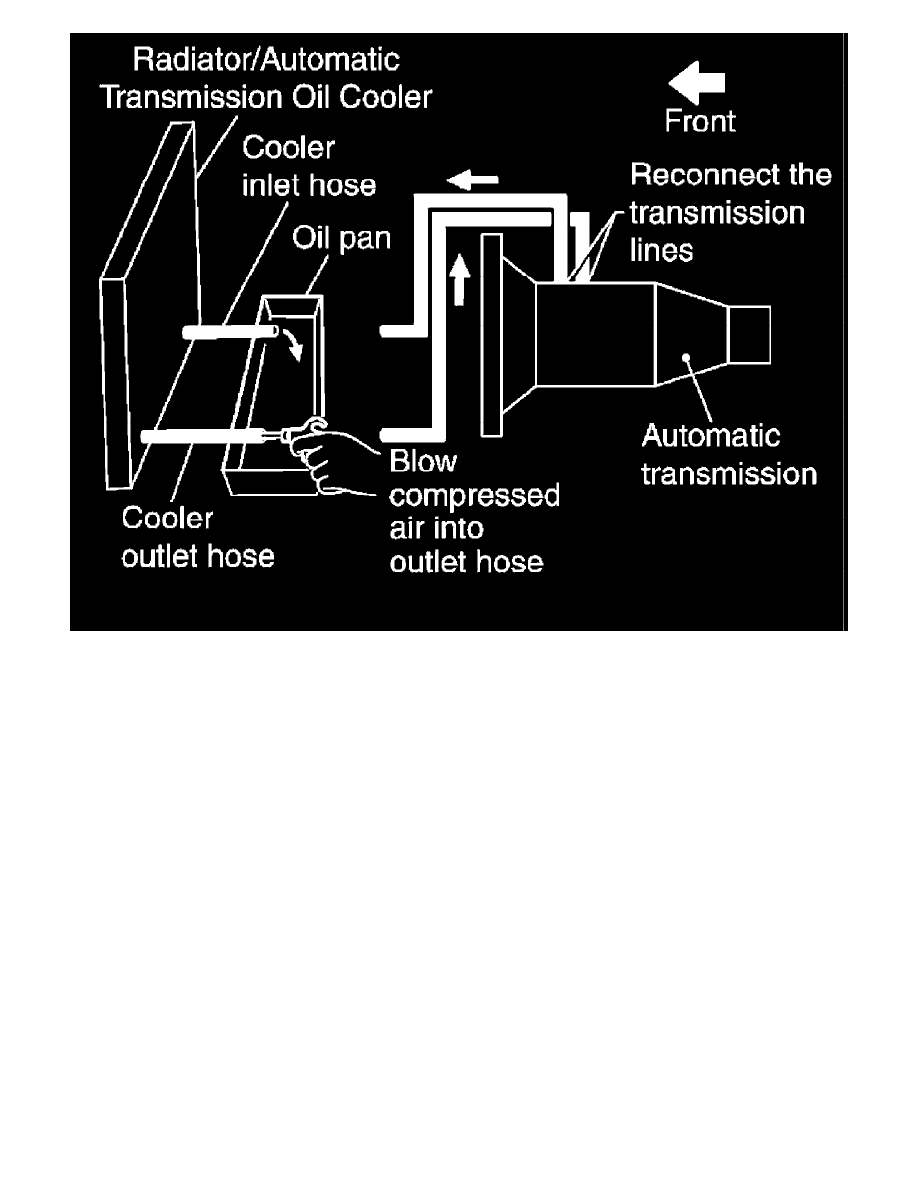
9) Blow compressed air regulated to 5 - 9 kg/cm2 (70 - 130 psi) through the cooler outlet hose for 10 seconds to force out any remaining fluid.
10) Repeat steps 5 through 9 three additional times.
11) Position an oil pan under the banjo bolts that connect the fluid cooler tubes to the A/T.
12) Remove the banjo bolts.
13) Flush each steel line from the cooler side back toward the A/T by spraying Transmission Cooler Cleaner in a continuous stream for 5 seconds.
14) Blow compressed air regulated to 5 - 9 kg/cm2 (70 - 130 psi) through each steel line from the cooler side back toward the A/T for 10 seconds to
force out any remaining fluid.
15) Ensure all debris is removed from the steel cooler lines.
16) Ensure all debris is removed from the banjo bolts and fittings.
17) Perform "A/T FLUID COOLER DIAGNOSIS PROCEDURE".
A/T FLUID COOLER DIAGNOSIS PROCEDURE
NOTE:
Insufficient cleaning of the cooler inlet hose exterior may lead to inaccurate debris identification.
1) Position a drain pan under the A/T inlet and outlet fluid cooler tube to cooler hose connection.
2) Clean the exterior and tip of the cooler inlet hose.
3) Put a different color matching mark on each cooler tube to cooler hose connection to aid in assembly.
CAUTION:
Use paint to make the matching mark. Do not damage the tubes or hose.
4) Disconnect the fluid cooler inlet and outlet rubber hoses from the steel cooler tubes.