
Grand Vitara 2WD V6-2.7L (2006)
6. Install upper arm.
7. Install rear suspension knuckle.
8. Install rear drive shaft.
9. Install lower arm.
10. Install trailing rod.
11. Install control rod.
12. Install rear wheel hub assembly.
13. Connect rear propeller shaft to differential aligning match marks on flanges. Tighten bolts and nuts to specified torque.
14. Install exhaust muffler and exhaust center pipe.
15. Fill reservoir with brake fluid and bleed brake system.
16. Upon completion of all jobs, depress brake pedal with about 30 kg (66 lbs) load three to five times so as to obtain proper drum-to-shoe clearance.
Adjust parking brake cable.
17. Install rear wheels.
18. Check to ensure that brake drum is free from dragging and proper braking is obtained.
19. Lower hoist and tighten rear wheel bolts to specified torque.
Tightening torque
Wheel nut: 100 Nm (10.0 kg-m, 72.5 ft. lbs.)
20. Bounce vehicle up and down to stabilize suspension.
21. Tighten each bolts and nuts to specified torque with vehicle weight on suspension.
NOTE: It is the most desirable to have vehicle off hoist and in non-loaded condition when tightening them.
22. Perform brake test (foot brake and parking brake).
23. Check each installed part for fluid leakage.
24. Check rear toe and camber and adjust it if necessary.
Rear Suspension Frame / Bushing Disassembly and Assembly
Rear Suspension frame / Bushing Disassembly and Assembly
Disassembly
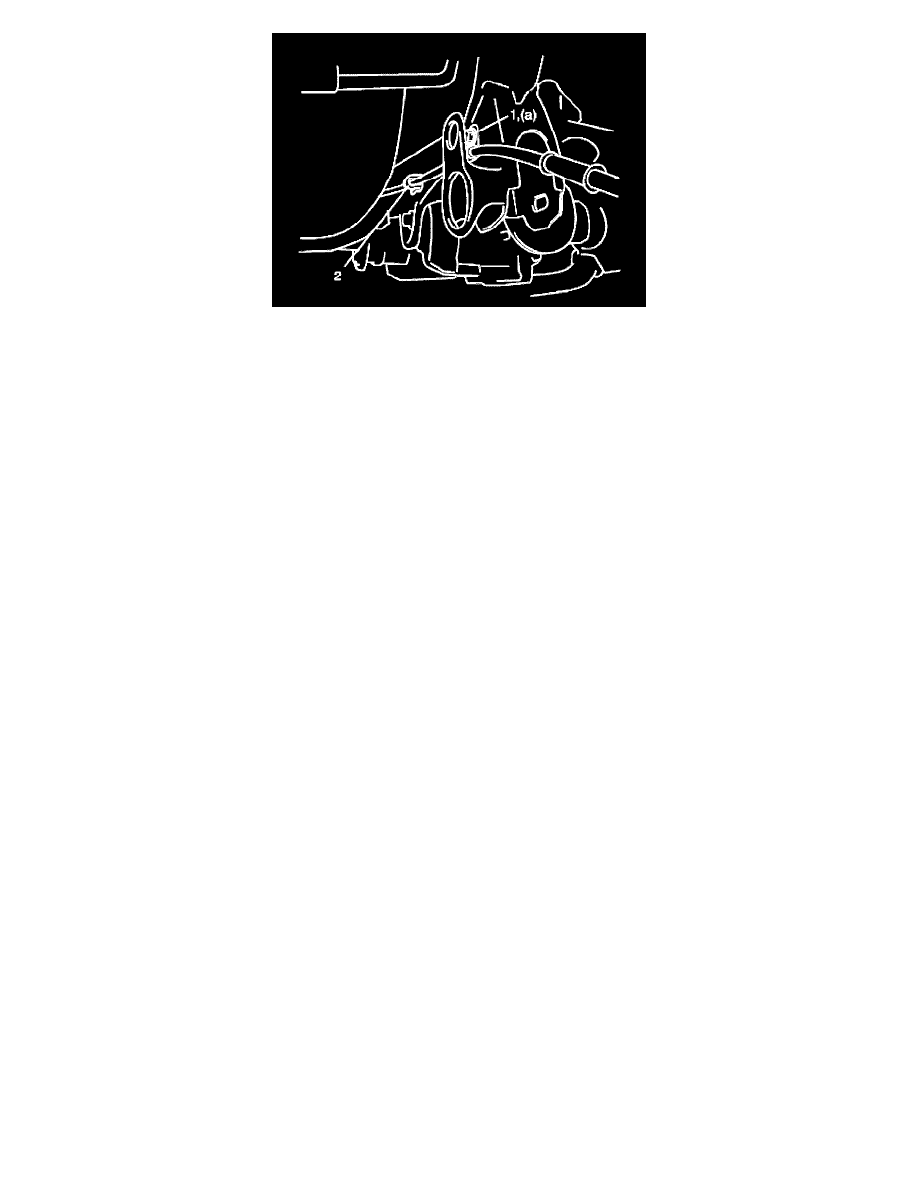
1. Cut rubber (1) of flange of rear suspension frame bushing.
2. Using grinder (2), grind off flange (3) of upper arm bushing.
CAUTION: Be careful not to damage rear suspension frame bushing (4) when grinding flange (3) of upper arm bushing with grinder.