
Samurai 2WD L4-1324cc 1.3L SOHC 5 Carb 8V (1987)
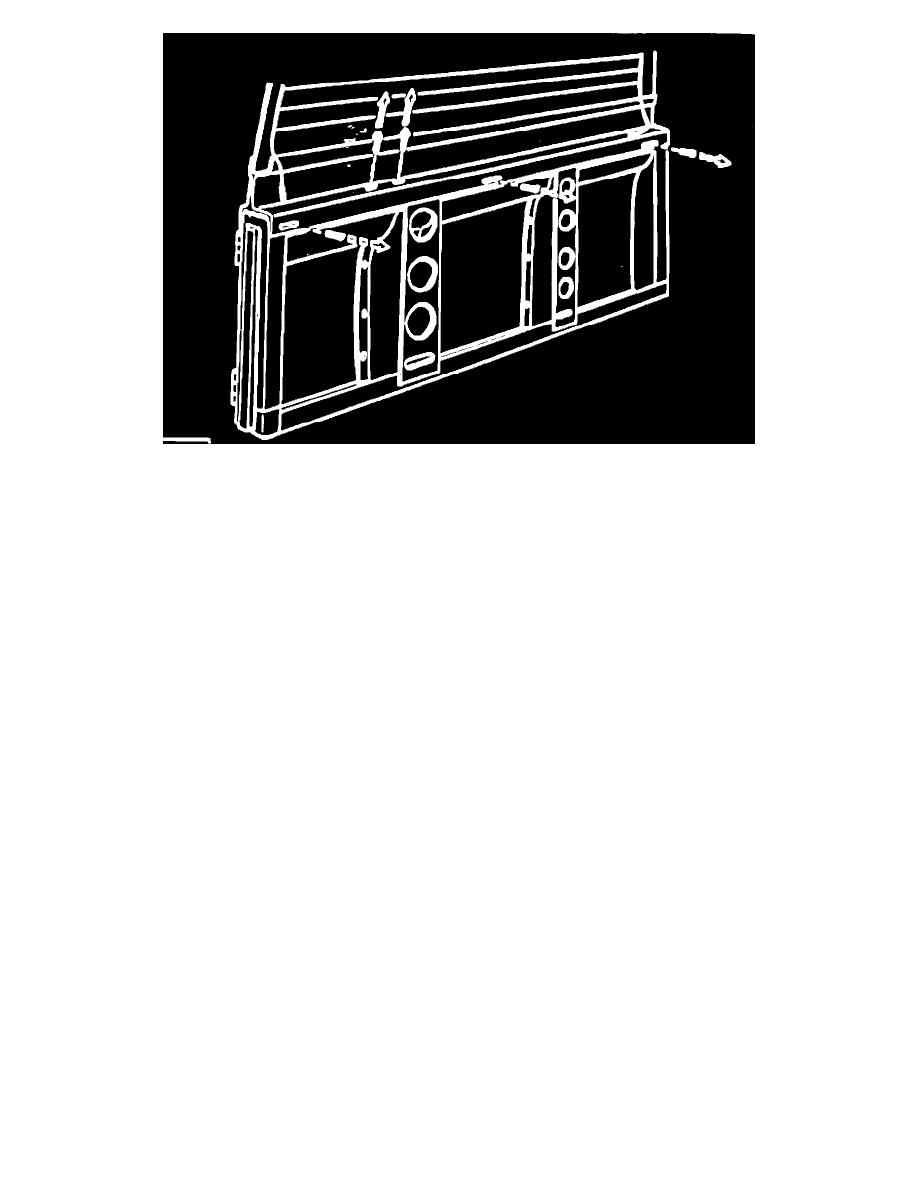
FIGURE 1
Step-3.
Loosely install the two 8 mm flange bead bolts
into top of tailgate. Refer to Fig. 1. Center assembly on tailgate. Completely tighten 8 mm bolts. Be certain window assembly is aligned
evenly at both sides of top.
Step-4.
While applying pressure by band in a forward
direction, install the three machine screws into jacknuts. Refer to Fig. 1. Use snap caps provided to cover beads of machine screws.
NOTE:
To adjust window assembly, loosen top two bolts.
Step-5.
Install the provided negative wire to the rear
window glass and extrusion.
Step-6.
Attach the provided positive wire to the rear
glass assembly. Route the wire clip to the body clip.
Step-7.
Check the defogger wiring to assure it is receiving
power at the rear glass and has been installed properly.
Step-8.
Check to make sure the rear glass is aligned properly
along the rear top seal.