XL-7 2WD V6-3.6L (2007)

Installation Procedure
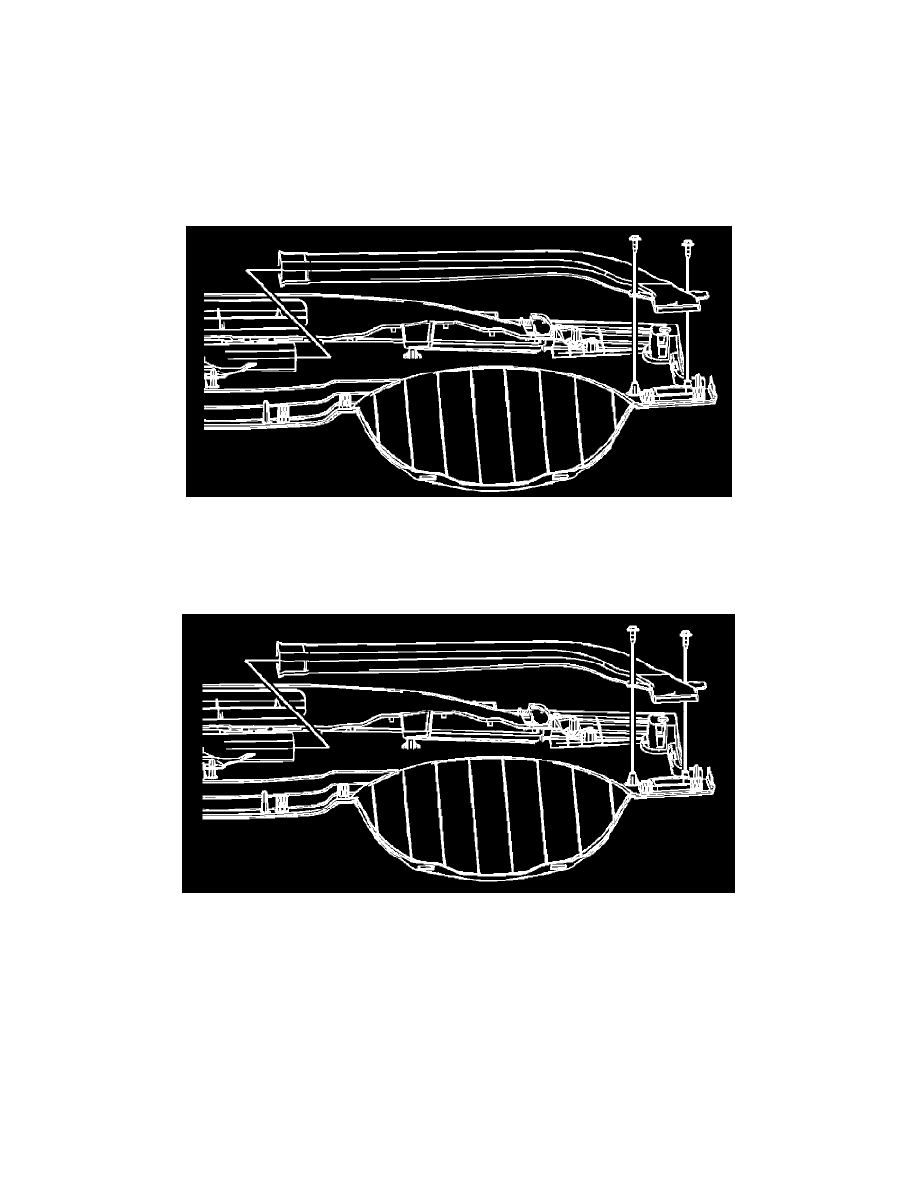
1. Install the rear floor air outlet to the floor pan.
2. Install the rear floor air outlet push pins to the floor pan.
3. Install the floor carpet to the B-pillars and the front footwells.
4. Install the floor console. Refer to [Console Replacement].
5. Install the front seats. Refer to [Front Seat Replacement - Bucket].
Side Window Defogger Outlet Duct Replacement - Left Side
Side Window Defogger Outlet Duct Replacement - Left Side
Removal Procedure
1. Remove the instrument panel (I/P) upper trim panel. Refer to [Instrument Panel Upper Trim Panel Replacement].
2. Remove the LH defogger duct screws from the I/P upper trim panel.
3. Remove the LH defogger duct from the I/P upper trim panel.
Installation Procedure
1. Inspect the seals, and replace if damaged, using Kent Industries adhesive backed foam tape P/N 46485 or equivalent.
2. Install the LH defogger duct to the I/P upper trim panel.
CAUTION: Refer to [Fastener Notice] in Cautions and Notices.
3. Install the LH defogger duct screws to the I/P upper trim panel.
Tightening torque
Tighten the screws to 1 N.m (9 lb.in).
4. Install the instrument panel upper trim panel. Refer to [Instrument Panel Upper Trim Panel Replacement].
Side Window Defogger Outlet Duct Replacement - Right Side
Side Window Defogger Outlet Duct Replacement - Right Side
