
XL-7 2WD V6-3.6L (2007)
Wheels: Removal and Replacement
Tire and Wheel Removal and Installation
Special Tool
J 39544-KIT Torque Limiting Socket Set
Removal Procedure
1. Raise and support the vehicle.
2. Remove the wheel center cap, if equipped.
3. Remove the wheel nut caps, if equipped.
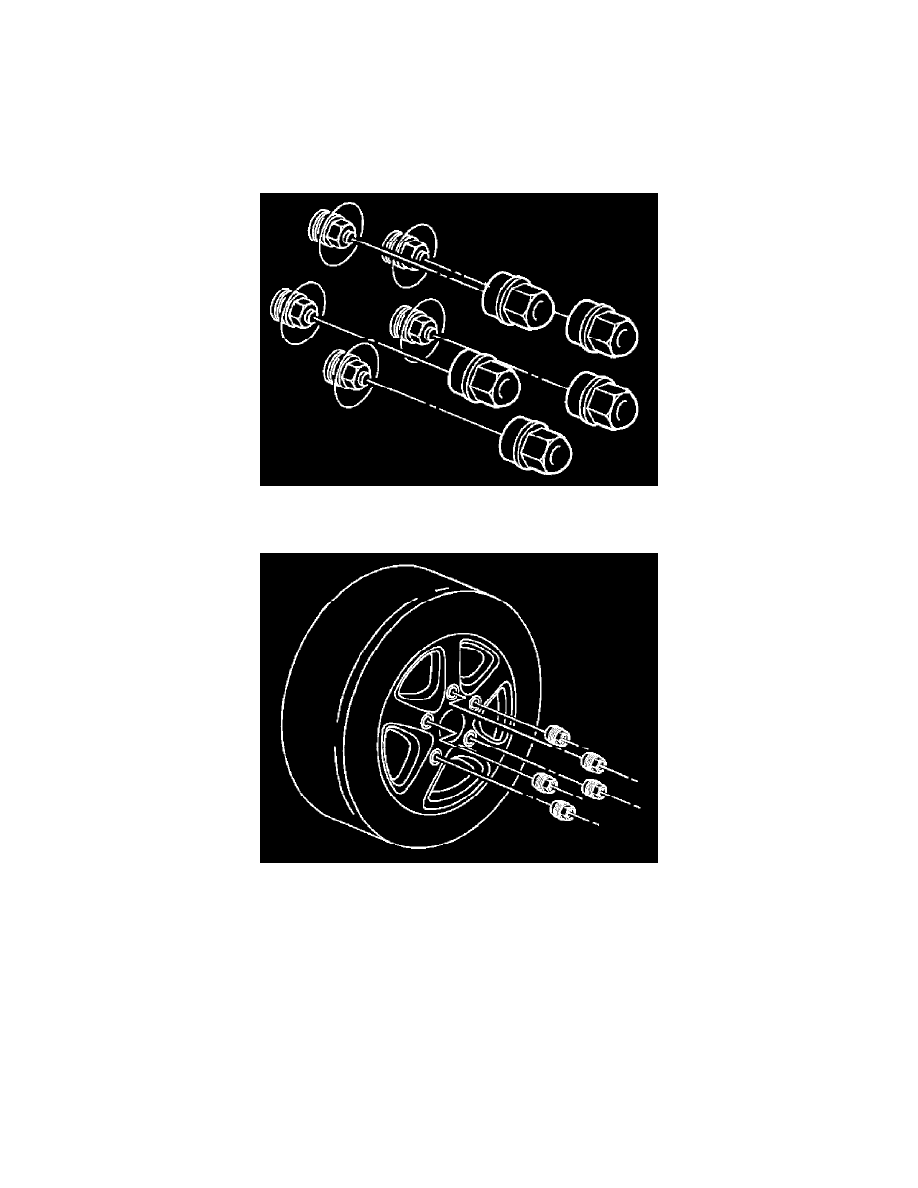
4. Mark the relationship of the wheel to the hub.
5. Remove the wheel nuts.
WARNING:
If penetrating oil gets on the vertical surfaces between the wheel and the rotor or drum it could cause the wheel to work loose as the
vehicle is driven, resulting in loss of control and an injury accident.
CAUTION:
Removing the wheel may be difficult because of foreign materials or a tight fit between the wheel and the hub/rotor. Slightly tap the tire
side wall with a rubber mallet in order to remove the wheel. Failure to follow these instructions may result in damage to the wheel.
6. Remove the tire and wheel assembly from the vehicle. If the tire and wheel assembly is difficult to remove, perform the following steps:
a. Install and tighten all wheel nuts on the affected wheel.
b. Loosen each wheel nut 2 turns.
c. Lower the vehicle.
d. Rock the vehicle from side to side.