
XL-7 2WD V6-3.6L (2007)
NOTE:
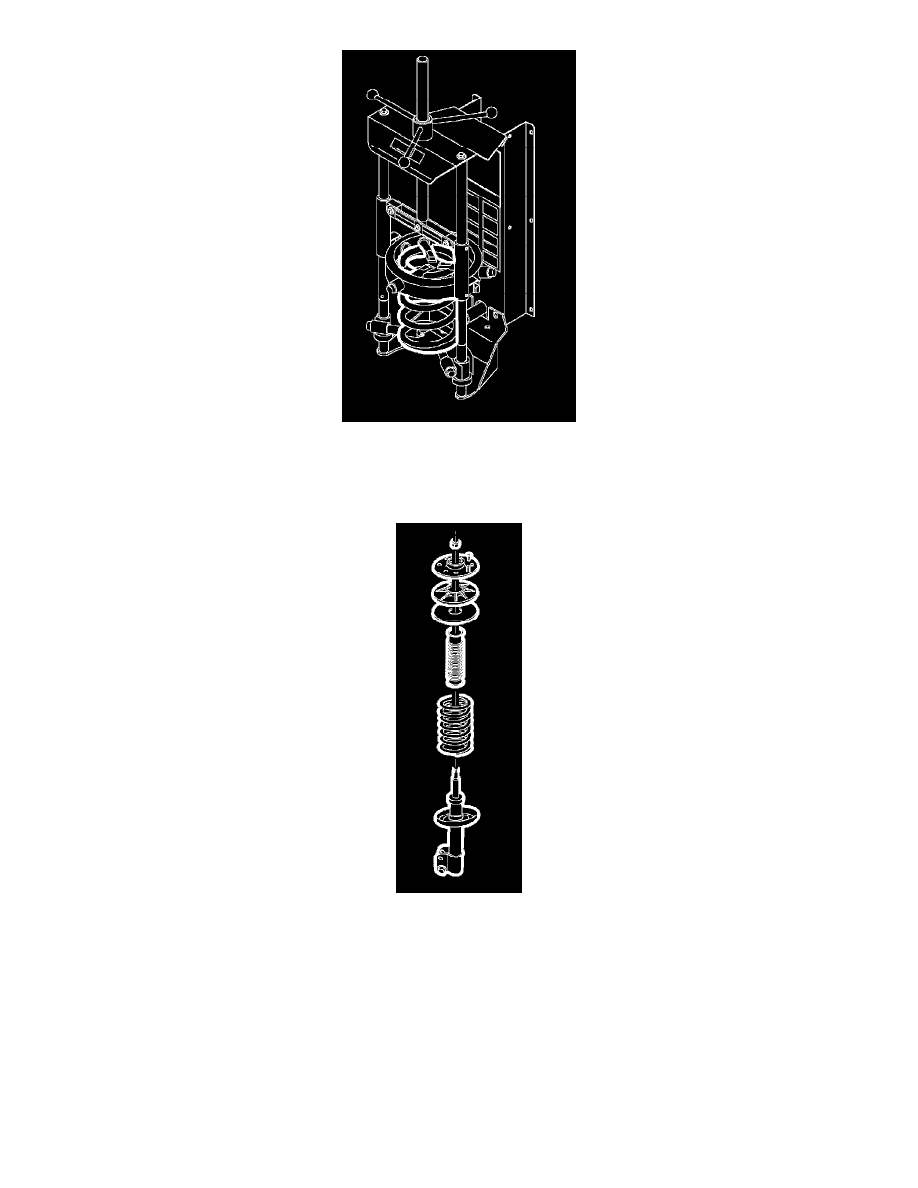
Leave the spring in the spring compressor.
4. Lower the strut from the spring assembly.
CAUTION:
Do not handle the top mount assembly by the plastic portion. Handle the top mount assembly by the metal portion when removing/
installing the top mount from/to the strut assembly. Holding the top mount assembly by the plastic portion may loosen the snap fit of the
bearing components and cause the bearing to fall apart.
5. Remove the upper mount assembly, inspect for damage and deterioration. Replace as necessary
6. Remove the strut dust shield and inspect for damage and deterioration. Replace as necessary.
7. Remove the hollow bumper from the strut shaft and inspect for damage and deterioration. Replace as necessary.
8. Inspect the spring for damage. Replace as necessary.
Installation Procedure