
4 Runner 2WD L4-2693cc 2.7L DOHC MFI (1997)
Installation Hint: After installation, check that the breather plug at the end of the breather tube (inside of the left hand frame) is not damaged
or worn.
2. Drain the differential oil.
NOTE: After draining the oil, tighten the plug to 49 Nm (39 ft. lbs.).
3. Remove the rear axle shafts.
4. Remove the rear propeller shaft.
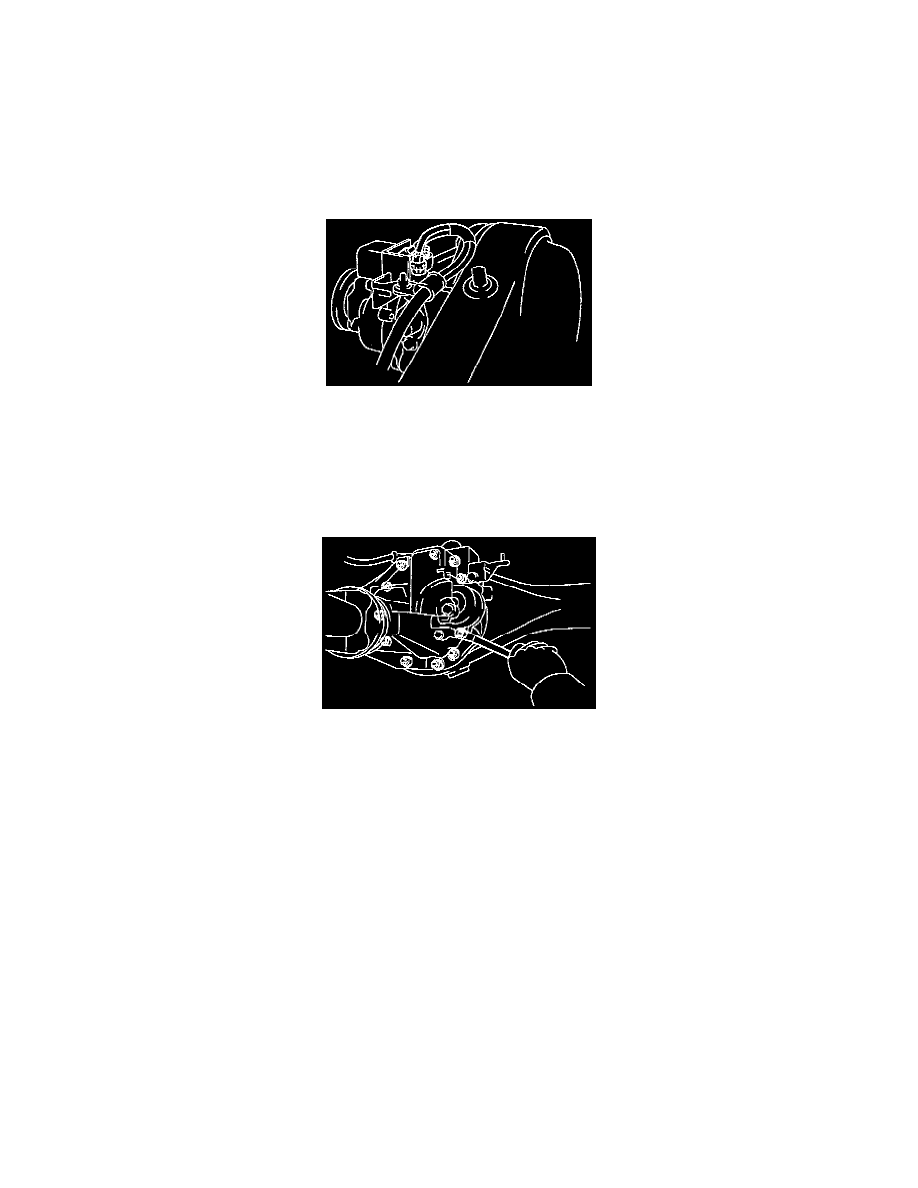
5. If the vehicle came with a differential lock, disconnect the connectors and the tube
Installation Hint:
^
When connecting the tube of the harness side to the hose of the actuator side, its depth of insertion is 15 mm (0.59 in.).
^
Take care that water or equivalent dose not adhere to the connector and hose.
6. Remove the differential carrier assembly by performing the following.
a. Remove the ten nuts, washers and differential carrier assembly.
NOTE:
^
Be careful not to damage the installation surface.
^
When installing the assembly, tighten the nuts as follows. If the vehicle came w/o a differential lock, tighten the lock to 73 Nm (54 ft. lbs.)
and if the vehicle came with a differential lock, tighten the bolts to 25 Nm (18 ft. lbs.).
b. Remove the gasket.
Installation Hint If the vehicle came with a differential lock:
^
Before installation, check differential lock operation connect the connector of the actuator to the connector of the vehicle side.
^
Before installation, check that the sleeves on work with switching over the differential lock control switch. After checking, lock the rear
differential.
INSTALLATION
Install in the reverse order of removal, noting the following:
-
fill the differential with differential oil.
-
If the vehicle came with a differential lock, check the differential lock operation.
Disassembly