
Celica GT Convertible L4-2164cc 2.2L DOHC MFI (1997)
Installation Hint: Torque the hose to 19 Nm (14 ft. lbs.) and the sensor harness to 5.0 Nm (44 inch lbs.).
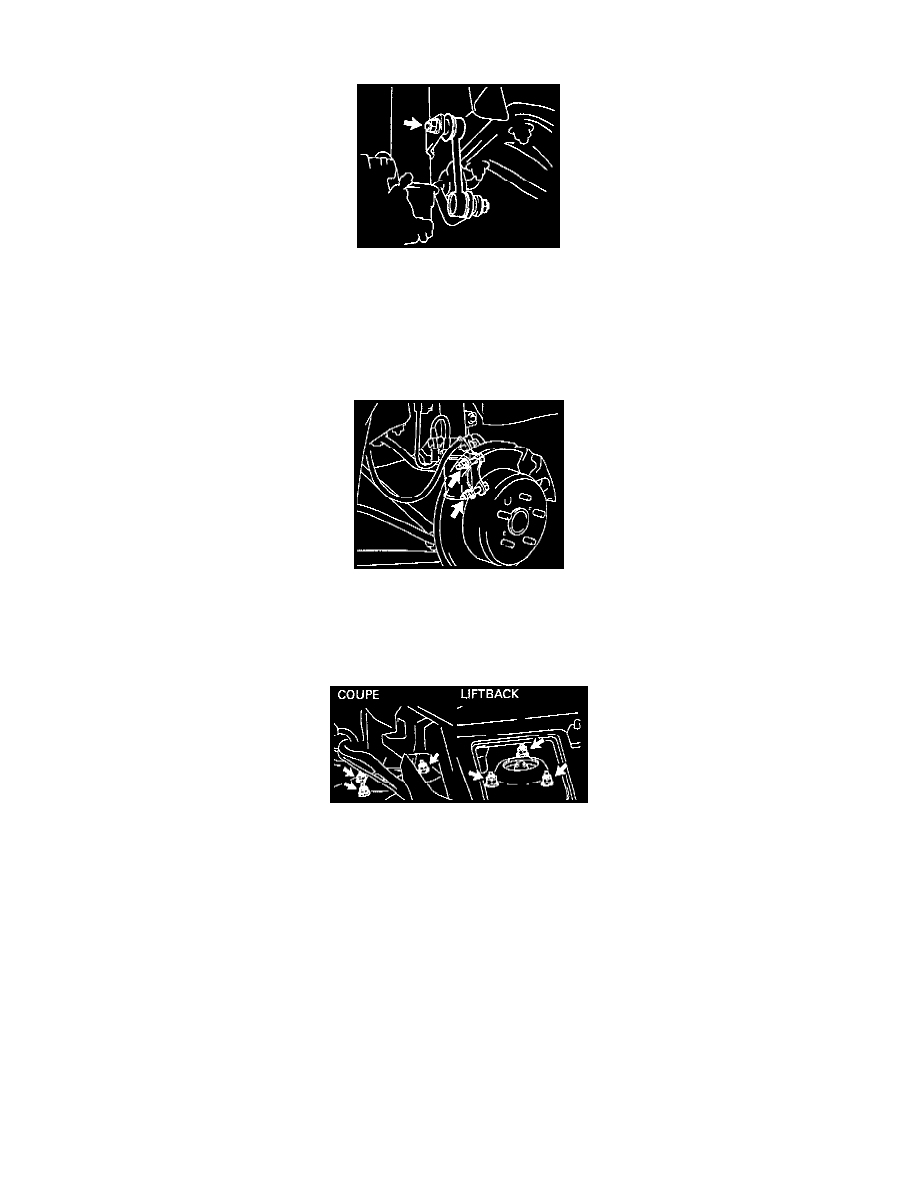
4. Remove the nut and disconnect the stabilizer bar link from the shock absorber.
NOTE: If the ball joint stud turns together with the nut, use a 5 mm hexagon wrench to hold the stud.
Installation Hint: Torque to 44 Nm (33 ft. lbs.).
5. Remove the shock absorber and coil spring by doing the following.
a. Loosen the two nuts on the lower side of the shock absorber but do not remove the bolts.
NOTE: When removing/installing bolts, stop the nut from rotating and loosen/torque the bolt to 255 Nm (188 ft. lbs.).
b. Support the rear axle carrier with a jack.
c. If the vehicle is a lift back model, remove the service hole cover.
d. Remove the three suspension support nuts.
Installation Hint: Torque to 39 Nm (29 ft. lbs.).
e. Lower the rear axle carrier and remove the two bolts.
f.
Remove the shock absorber and coil spring.
INSTALLATION
Install in the reverse order of removal, noting the following:
-
Check rear wheel alignment.
See: Alignment
Disassembly and Assembly