
Celica Supra L6-2759cc 5M Ser (1982)
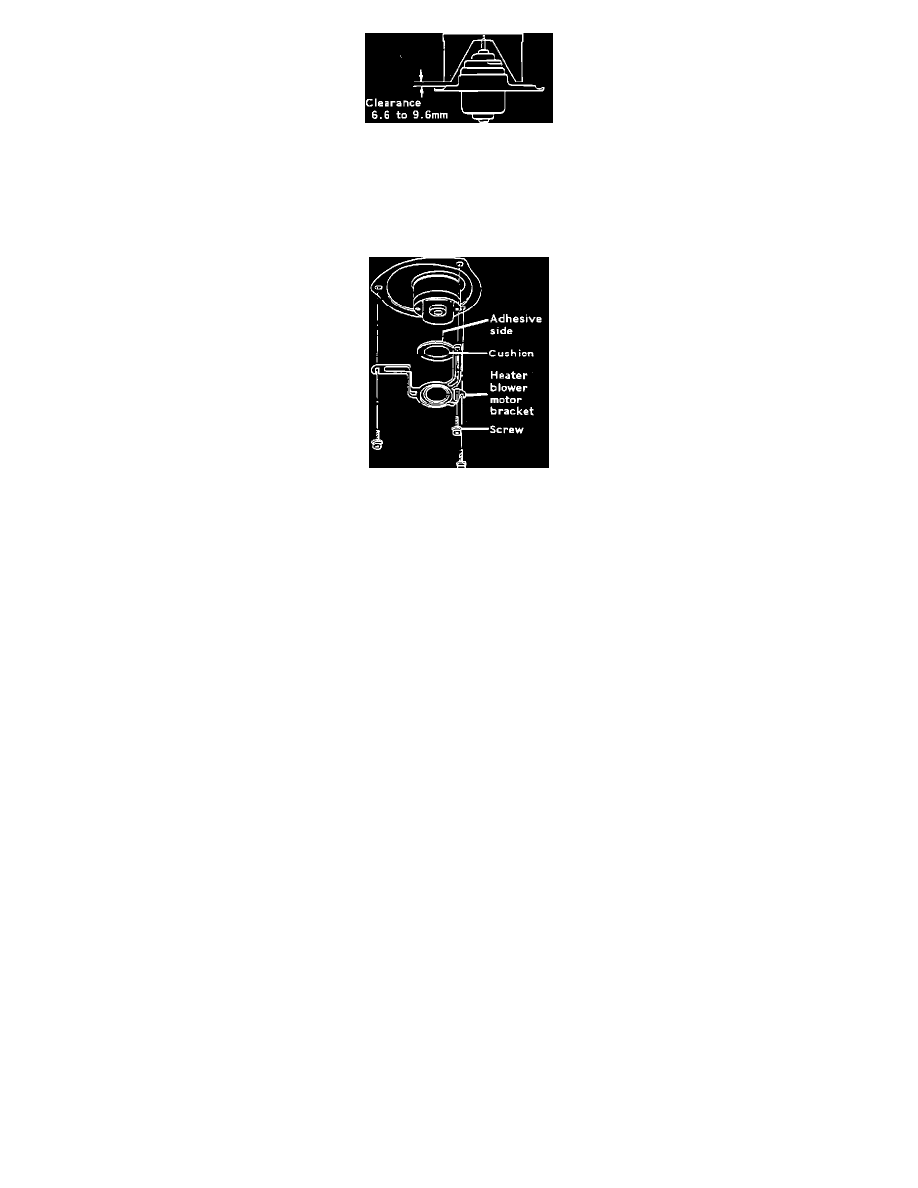
FIGURE 4
4)
Reassemble blower fan to motor.
Install fan and nut. Check clearance (Figure 4).
Specification:
6.6-9.6 mm
FIGURE 5
5)
Install blower motor to heater by using a heater blower motor bracket.
Bracket P/N
Models
87173-19015
RA, MA and RT... All
MX. . . 80/9 and after
87173-29015
MX.. . 80/8 and before
Affix adhesive side of cushion to motor. Using original three screws, install bracket and motor to heater.
PRODUCTION EFFECTIVE:
From Frame Number
Production Date
JT2RA64**C0008245
April 1982
JT2RA64**C6072351
April 1982
JT2MA61**C*029181
April 1982
JT2MX62**C*055537
April 1982
PART NUMBER INFORMATION:
Previous
New
Model and
Part Number
Part Number
Production Period
Part Name
87104-14070
Same
RA 77/8 - 78/8
Motor sub-assy,
RT 78/9 and after
heater blower
87104-14090
Same
RA/MA 78/8 - 81/7
Motor sub-assy,
heater blower
87104-14100
Same
RA/MA/RT 81/8
Motor sub-assy,
and after
heater blower
87104-22090
Same
MX 80/9 and after
Motor sub-assy,
heater blower
87104-22110
Same
MX 80/8 and before
Motor sub-assy,
heater blower
87130-14041
Same
RA/MA 78/8 - 81/7
Blower assy, heater
87130-14050
Same
RA/MA 78/8 - 81/7
Blower assy, heater