
Corolla CE Sedan 4-Door L4-1587cc 1.6L DOHC MFI (1997)
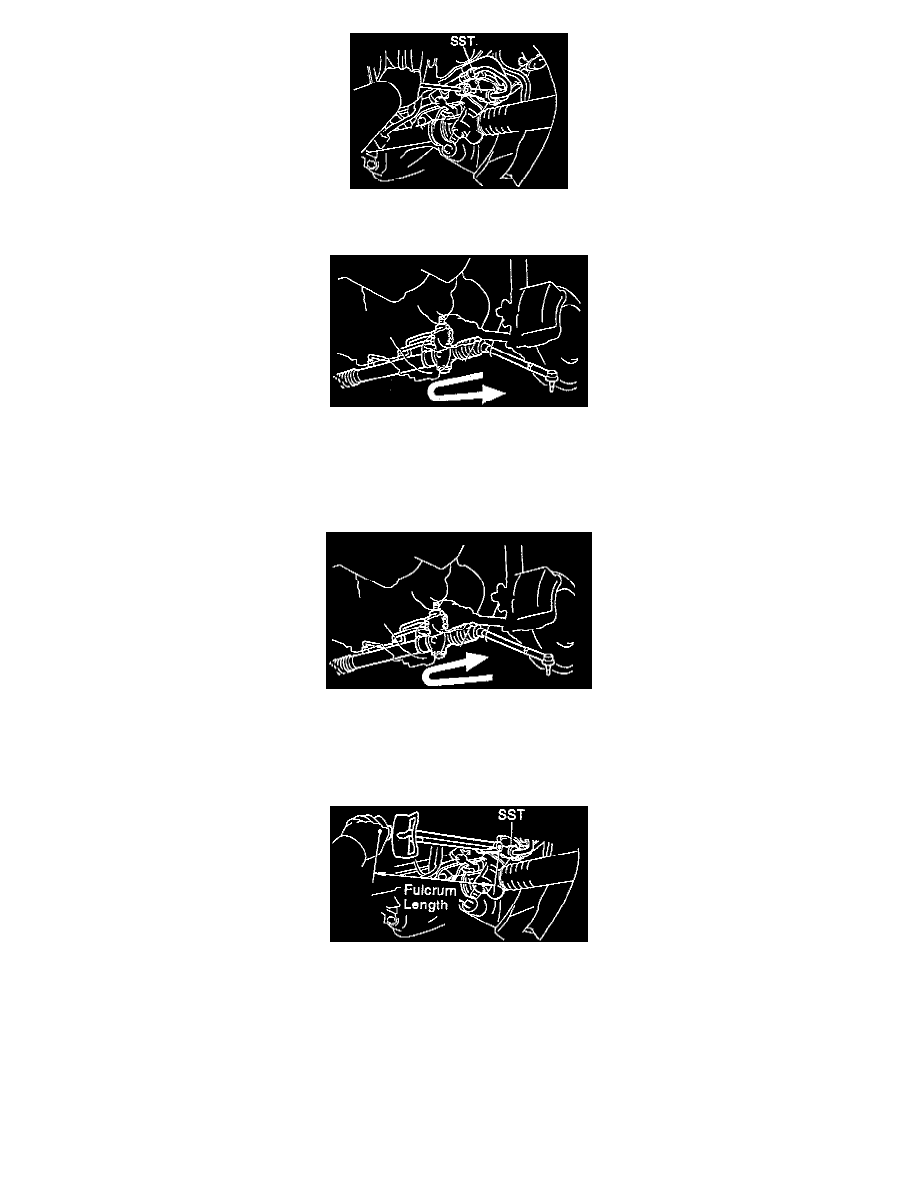
13. Disconnect pressure feed and return tubes. Using Special Service Tool (SST) 09631 - 22020, disconnect the tube.
14. Remove 2 brackets and grommets. Remove the bolt and nut.
15. Remove PS gear assembly.
a. Slide the gear assembly to the RH side of the vehicle.
b. Slide the gear assembly LH side and pull it out.
Installation
1. Install PS gear assembly. Slide the gear assembly to the RH of the vehicle, slide the gear assembly to the LH side and position it.
CAUTION: Do not damage the turn pressure tubes.
2. Install 2 grommets and brackets. Torque the bolt and nut to 59 Nm (43 ft. lbs.).
3. Connect pressure feed and return tubes using SST 09631 - 22020 to a torque of 36 Nm (26 ft. lbs.).
NOTE:
^
Use a torque wrench with a fulcrum length of 300 mm (11.81 inch).
^
This torque value is effective in case that SST is parallel to a torque wrench.
4. Install engine rear mount bracket. Torque the 3 bolts to 77 Nm (57 ft. lbs.).
5. Install engine rear mount insulator. Torque the bolt to 87 Nm (64 ft. lbs.).
6. Install front pipe support. Torque the 2 bolts to 19 Nm (14 ft. lbs.).
7. Install center member.
8. Connect RH and LH lower suspension arms.