
Corolla LE Sedan L4-1762cc 1.8L DOHC MFI (1998)
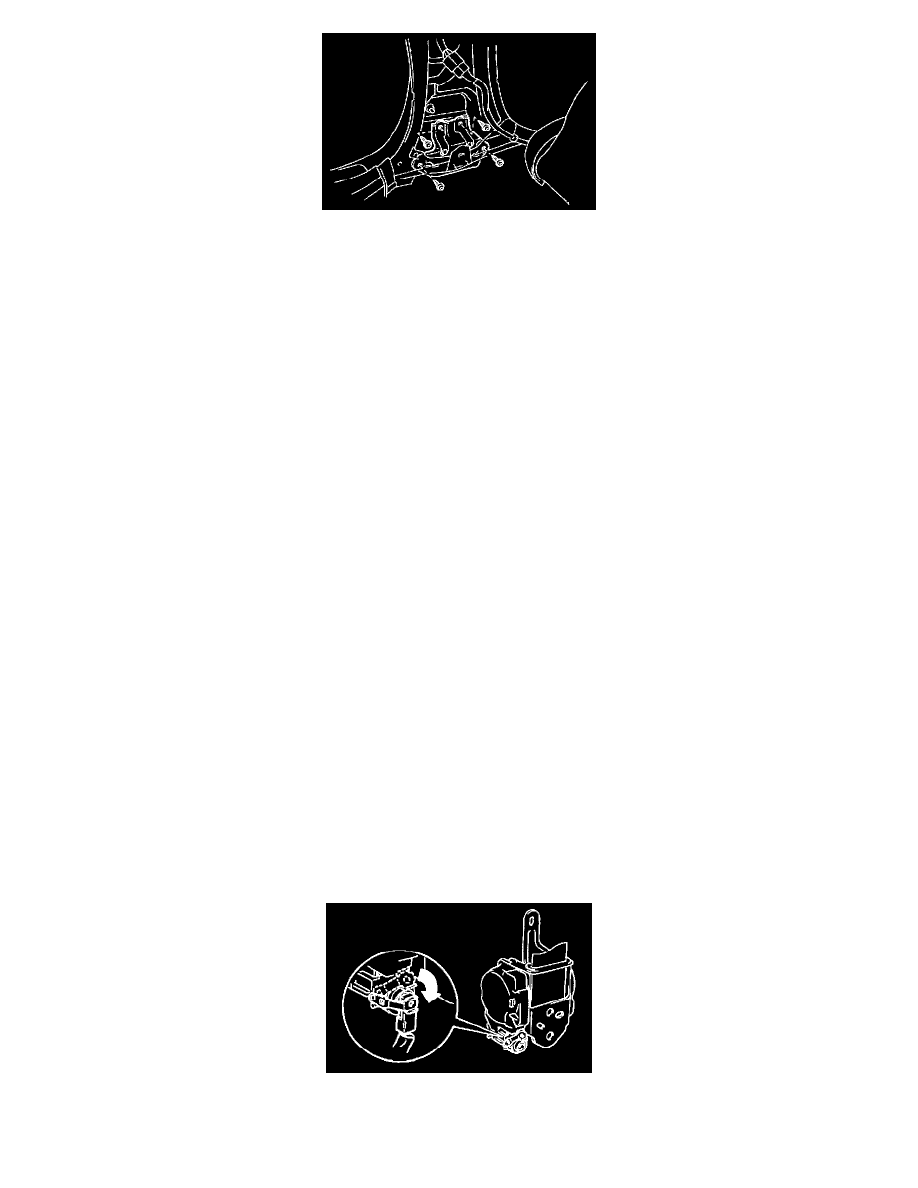
3. REMOVE SIDE AIRBAG SENSOR
a. Disconnect the connector.
NOTICE: Remove the connector with the sensor assembly installed.
b. Using a torx wrench, remove the 4 screws and side airbag sensor.
Torx wrench: T40 (Part No.09042-00020 or locally manufactured tool)
INSTALLATION
NOTICE:
^
Never use SRS parts from another vehicle. When replacing parts, replace with new ones.
^
Never reuse the side airbag sensor assembly involved in a collision when the airbag has deployed.
^
Never repair a sensor in order to reuse it.
1. INSTALL SIDE AIRBAG SENSOR
a. Connect the connector.
NOTICE:
^
Make sure the sensor assembly is installed to the specified torque.
^
If the sensor assembly has been dropped, or there are cracks, dents or other defects in the case, the bracket or the connector, replace the sensor
assembly with a new one.
^
When Installing the sensor assembly, take care that the SRS wiring does not Interfere with other parts and is not pinched between other parts.
^
After installation, shake the sensor assembly to check that there is no looseness.
b. Using a torx wrench, install the side airbag assembly with 4 screws.
Torx wrench: T40 (Part No.09042-00020 or locally manufactured tool)
Torque: 20 N.m (200 kgf.cm, 14 ft.lbf)
2. INSTALL FRONT SEAT OUTER BELT RETRACTOR
a. Install the retractor with 2 bolts.
Torque:
Upper bolt: 4.9 N.m (50 kgf.cm, 43 in.lbf)
Lower bolt: 41 N.m (420 kgf.cm, 30 ft.lbf)
b. LH side only:
Connect the retractor switch connector.
c. w/ Seat Belt Pretensioner:
Connect the pretensioner connector.