
Corolla LE Sedan L4-1762cc 1.8L DOHC MFI (1998)
3. Remove brace.
Remove the 2 nuts and brace.
Torque: 69 Nm (51 ft. lbs.)
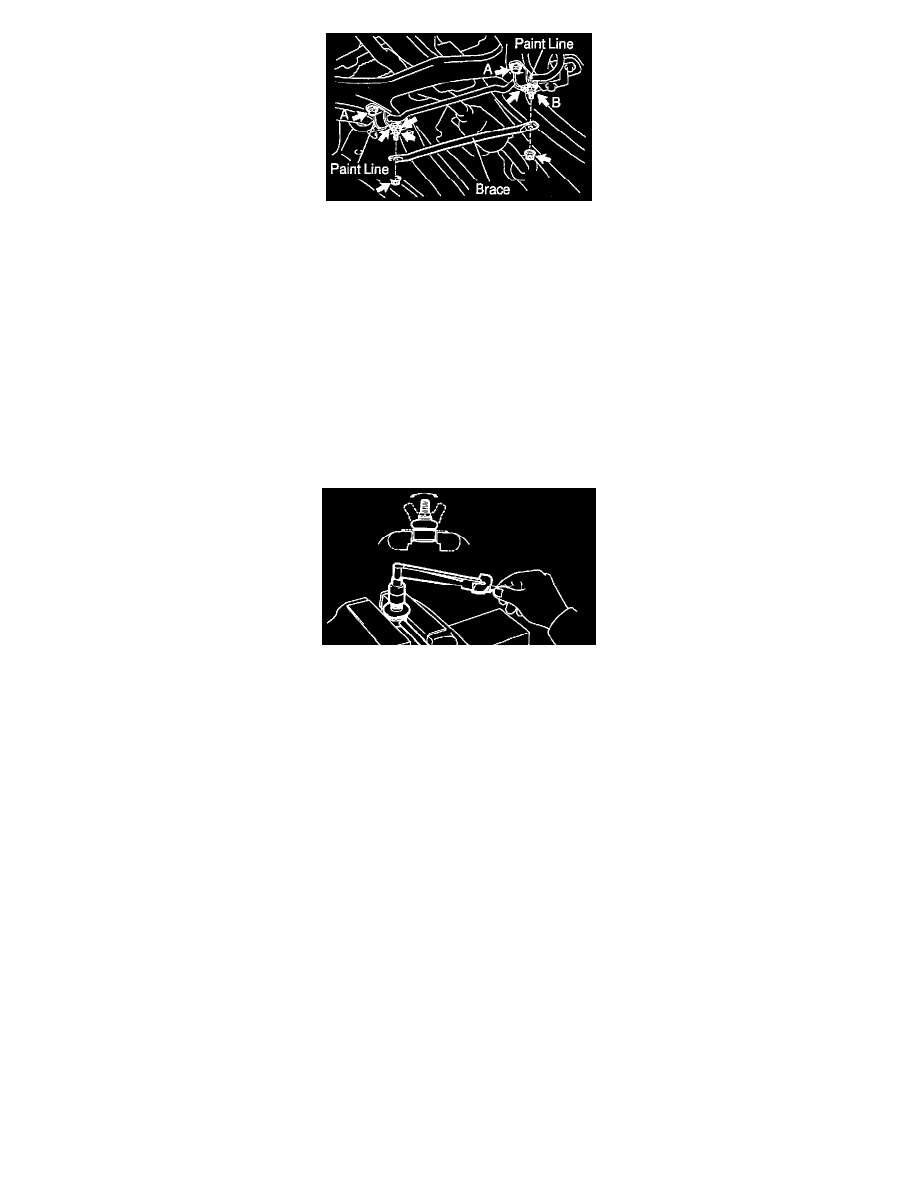
4. Remove left and right stabilizer bar brackets and bushing.
Remove the 4 bolts, 2 nuts, brackets and bushings from the stabilizer bar.
Torque:
-
A Bolt: 225 Nm (167 ft. lbs.)
-
B Bolt: 147 Nm (109 ft. lbs.)
-
Nut: 19 Nm ( 14 ft. lbs.)
HINT: At the time of installation, install the bushing to the portion in side of the paint line.
5. Remove stabilizer bar.
INSPECTION
1. Inspect stabilizer bar link ball joint for rotation condition.
a. As shown in the illustration, flip the ball joint stud back and forth 5 times, before installing the nut.
b. Using a torque wrench, turn the nut continuously one turn each 2 -4 seconds and take the torque reading on the 5th turn.
Turning torque: 0.05 -1.0 Nm (0.4 - 8.7 inch lbs.)
INSTALLATION
Installation is in the reverse order of removal.