
Previa Van DX 4WD L4-2438cc 2.4L DOHC SC MFI (1997)
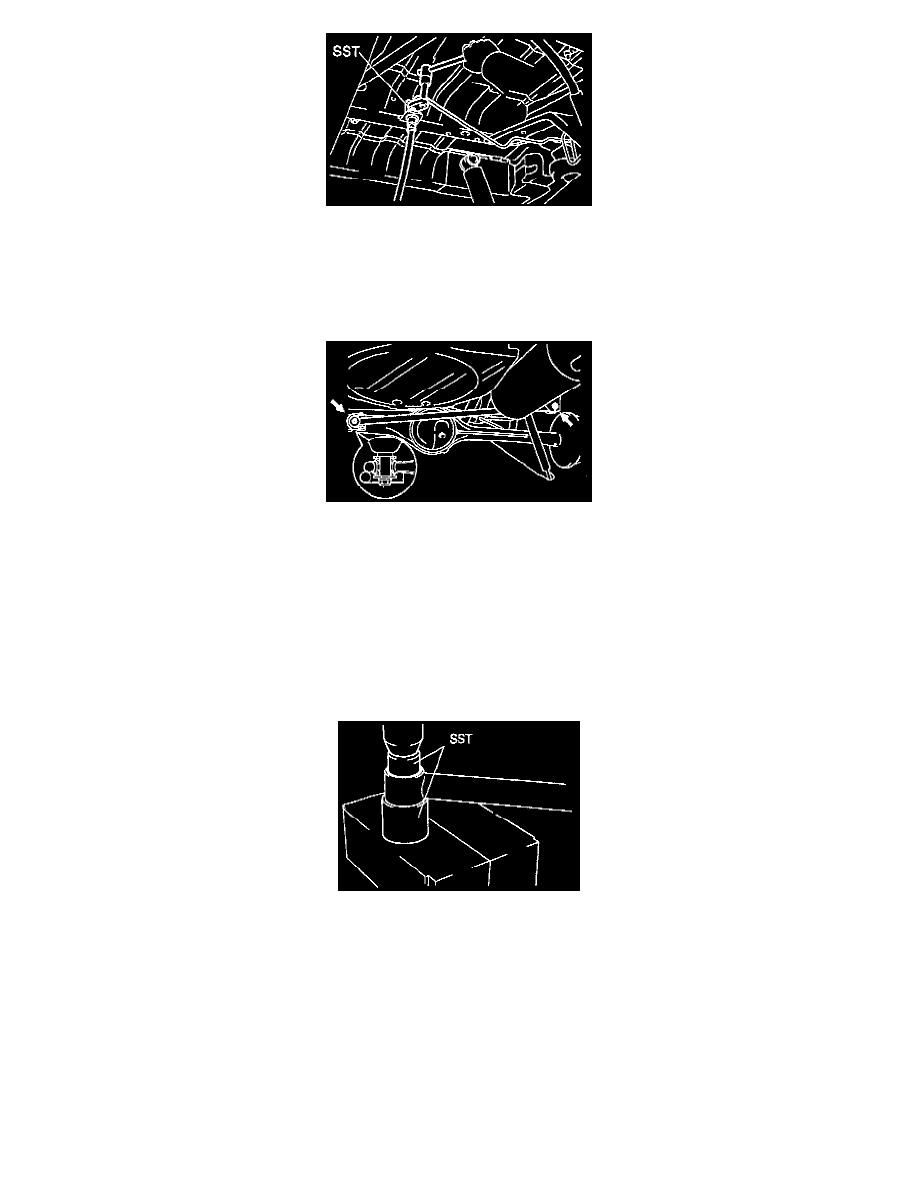
a. Using Special Service Tool (SST) # 09023 - 00100 or equivalent, disconnect the brake line from the brake hose.
b. Remove the clip and disconnect the brake hose from the body.
4. w/ABS: Remove ABS wire harness bracket.
5. Disconnect Load Sensing Proportioning Valve (LSPV) spring from lower control arm.
Torque: 13 Nm (9 ft. lbs.)
6. Disconnect shock absorber from lower control arm.
7. Remove lateral control rod.
a. Remove the 2 nuts and bolt.
Torque:
Body side: 211 Nm (156 ft. lbs.)
Axle housing aide: 59 Nm (43 ft. lbs.)
INSTALLATION HINT: After stabilizing the suspension, torque the 2 nuts.
b. Remove the lateral control rod with the bushings.
BUSHING REPLACEMENT
Replace lateral control rod bushing. Using SST # 09710 - 22042 (09710 - 02041, 09710 - 02071) or equivalents and a press, replace the bushing.
INSTALLATION
Installation is in the reverse order of removal.
HINT: After installation, bleed the brake system.