
Supra L6-2997cc 3.0L DOHC MFI (1998)
ACIS Control Valve: Service and Repair
REMOVAL
1. REMOVE OIL DIPSTICK FOR ENGINE
2. REMOVE OIL DIPSTICK AND GUIDE FOR A/T
(a) Remove the bolt.
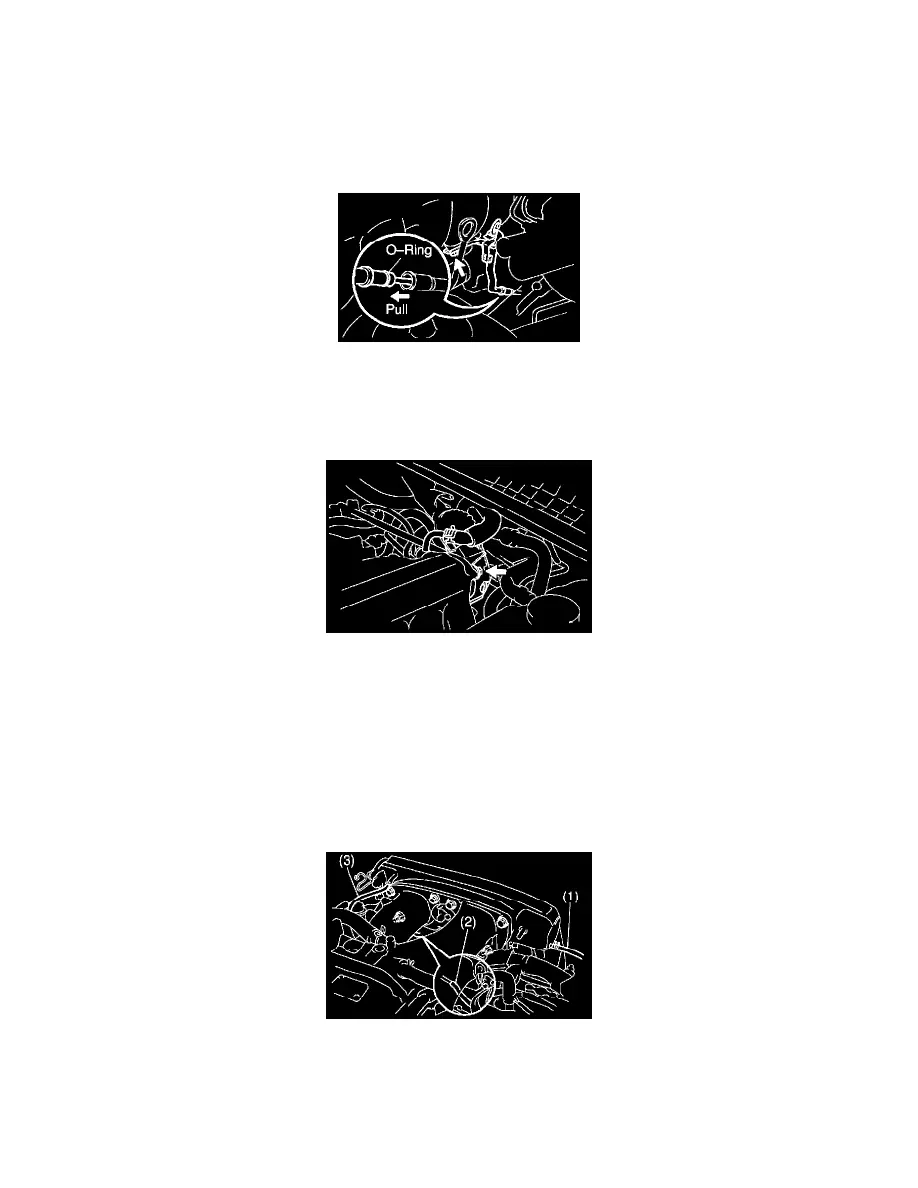
(b) Pull out the dipstick guide together with dipstick.
(c) Remove the O-ring from the dipstick guide.
HINT: At the time of installation, please refer to the following items. Use a new O-ring.
3. REMOVE AIR INTAKE CHAMBER (WITH INTAKE AIR CONTROL VALVE)
(a) Remove the bolt, and disconnect the engine wire protector from the air intake chamber.
(b) Disconnect the brake booster vacuum hose from the intake chamber.
(c) Remove the union bolt, brake booster union and 2 gaskets.
HINT: At the time of installation, please refer to the following items. Use 2 new gaskets.
Torque: 30 N.m (300 kgf.cm, 23 ft.lbf)
(d) Remove the 4 bolts and 2 nuts holding the intake air connector to the air intake chamber.
Torque: 28 N.m (280 kgf.cm, 21 ft.lbf)
(e) Disconnect these hoses:
(1) PS air hose from air intake chamber
(2) Vacuum hose (from actuator for ACIS) from No.1 vacuum pipe
(3) Vacuum hose (from No.2 vacuum pipe) from air intake chamber