|
Radiator (With Air Conditioning), Remove and
Install
 Remove Remove
|
Remove front panelling – see operation "Front Panelling,
Remove and Install" in group "A".
Remove fan housing with fan motor – see operation "Fan
Motor, Remove and Install".
Remove air cleaner housing with air intake hose and hot film
mass air flow meter – see illustration "Air Ducts".
Open coolant drain bolt – collect escaping coolant.
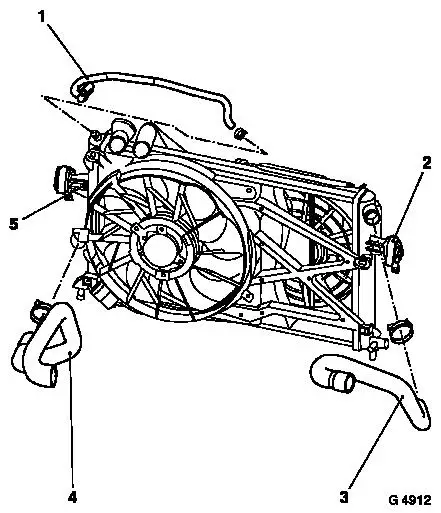
Detach upper radiator hose (3), lower radiator hose (4) and
coolant compensation tank coolant hose (1) from radiator.
Secure radiator at upper brackets (2) and (5).
|
|
|
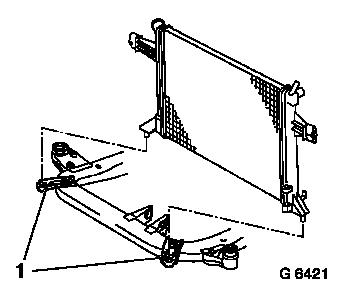
Detach coolant line bracket from radiator bracket.
Detach lower radiator bracket (1) from front axle body –
note dissimilar brackets.
|
|
|
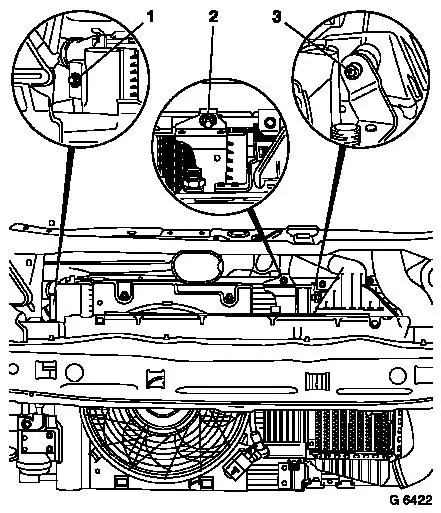
Remove fastening bolt (3) and remove oil cooler.
Remove fastening bolts (1) and (2) and secure condenser to upper
front panel (suspend).
Remove upper bracket retainer – remove radiator with
intercooler downwards.
|
|
|
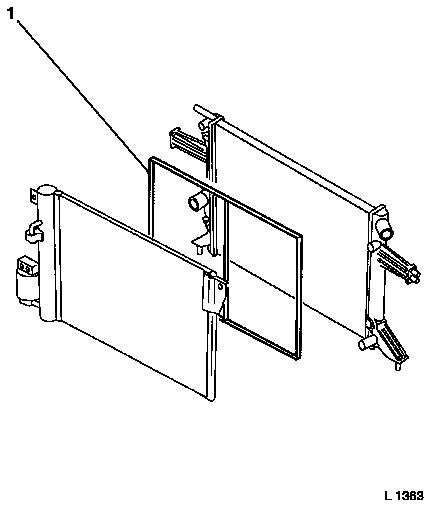
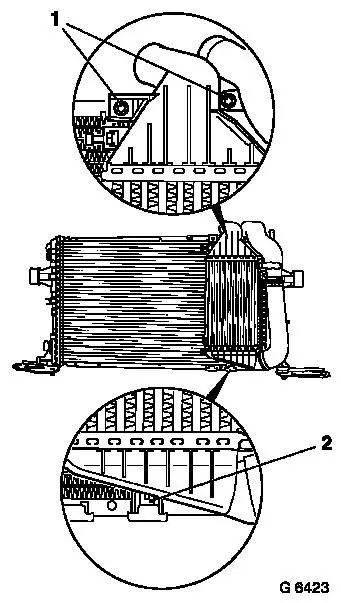
If present: Remove surrounding seal (1) between radiator and
condenser.
Note: The surrounding
seal is not re-installed and must therefore be disposed.
|
|
Remove
|
When replacing radiator:
Remove fastening bolts (1) and remove intercooler from bracket
(2).
|
|
 Install
Attach intercooler to radiator – tightening torque 5 Nm /
4 lbf. ft.
Insert radiator with intercooler in upper brackets and
secure.
Attach condenser to radiator – tightening torque – 5
Nm / 3.5 lbf. ft.
Insert oil cooler and attach to intercooler – tightening
torque 5 Nm / 4 lbf. ft.
Attach lower radiator bracket to front axle body – note
dissimilar brackets – tightening torque – 15 Nm / 11
lbf. ft.
Release radiator.
Connect coolant hoses to radiator.
Install air cleaner housing with air intake hose and hot film
mass air flow meter – see illustration "Air Ducts".
Install fan housing with fan motor – see operation "Fan
Motor, Remove and Install".
 Inspect
Charge cooling system – see operations "Cooling System,
Charge and Bleed" and "Cooling System, Check for Leaks".
Check engine oil level and correct if necessary.
|
