|
Sill Panelling, Replace (Model L 67)
Important: Note
specification for welded, brazed and riveted joints  and body repair
with structural adhesive ! and body repair
with structural adhesive !
Important: Observe
SPP, PSO welding parameters for resistance spot welding! See TIS
Newsletter for equipment recommendations!
 Remove Remove
| 1. |
Detach attaching parts
|
|
| 2. |
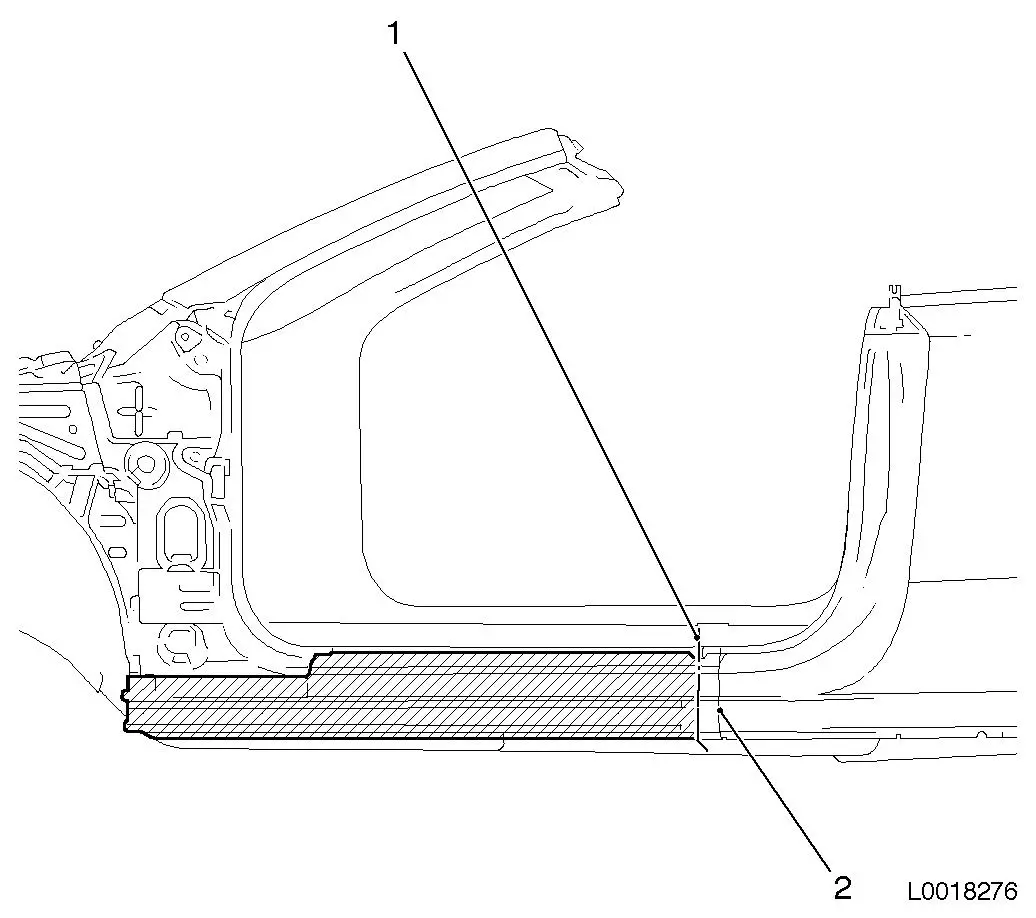
Detach and drill away sill panelling
Note: Observe cutting
line (1) and do not damage joint (2) on exterior side panel.
|
|
 Install
|
| 3. |
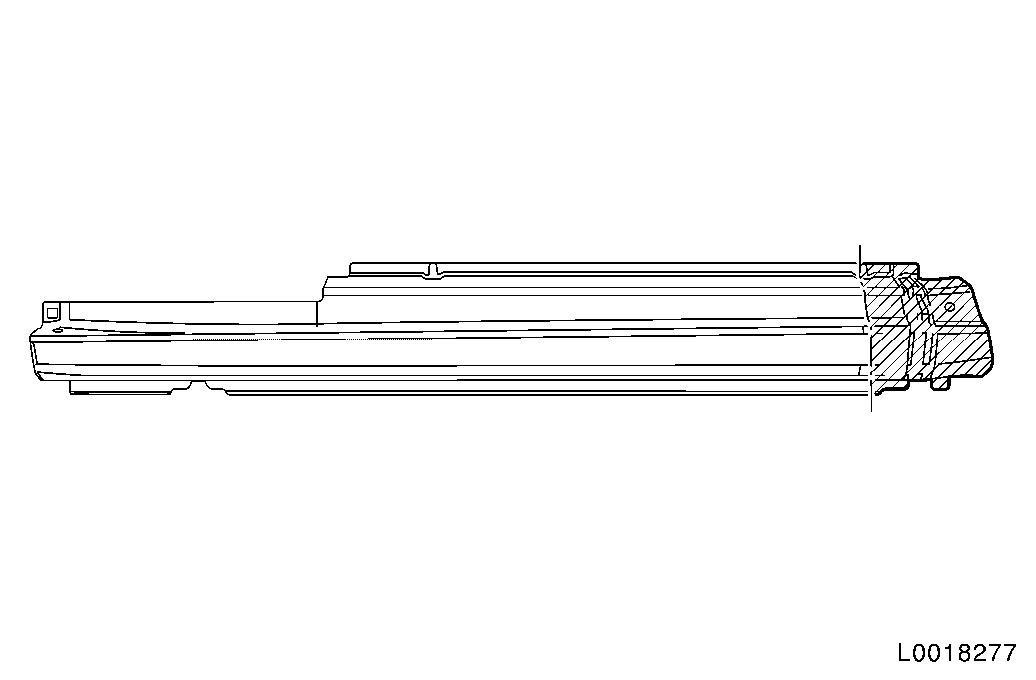
Cut and fit new sill panelling
|
|
| 4. |
Remove new sill panelling
|
|
| 5. |
Prepare new sill panelling
| • |
Incorporate 7x (8x24 mm)
slot
|
|
|
|
| 6. |
Prepare new sill panelling
| • |
Incorporate 14x ( 8x24 mm )
slot
|
|
|
|
| 7. |
Prepare sill
Note: Pre-spot
operation: The number of spots is specified in the documentation
from the welding equipment manufacturer!
|
|
|
| 8. |
Apply corrosion protection adhesive system 93 160 535/15 05
000
|
|
| 9. |
Adjust new sill panelling to fit
|
|
Important: Observe special
parameter program!
|
| 10. |
Weld in sill panelling
|
|
|
| 11. |
MIG-braze sill panelling
|
|
|
| 12. |
MIG-braze sill panelling
|
|
| 13. |
Grind off visible MIG-brazed seams
|
| 14. |
Seal body, weld and brazing seams
Note: Observe corrosion
protection measures for seam seals.
|
| 15. |
Apply underseal.
Note: Observe corrosion
protection measures for PVC protection.
|
| 16. |
Seal cavity
Note: Observe
protective wax corrosion protection measures.
|
|
