|
Replace rear axle damping bushings
| Spezialwerkzeugliste: |
- MKM-6615
- MKM-6615-10
- MKM-6615-11
- MKM-6615-12
- MKM-6615-13
- MKM-6615-51
- MKM-6615-52
- MKM-6615-53
- MKM-6615-54
- MKM-6616
|
Note: The rear axle
damping bushings must only be replaced in pairs!
 Remove Remove
| 3. |
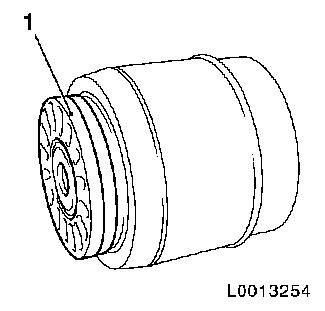
Detach plastic ring (1)
Note: For the sake of
clarity, the illustration shows the component with the damping
bushing removed!
|
|
|
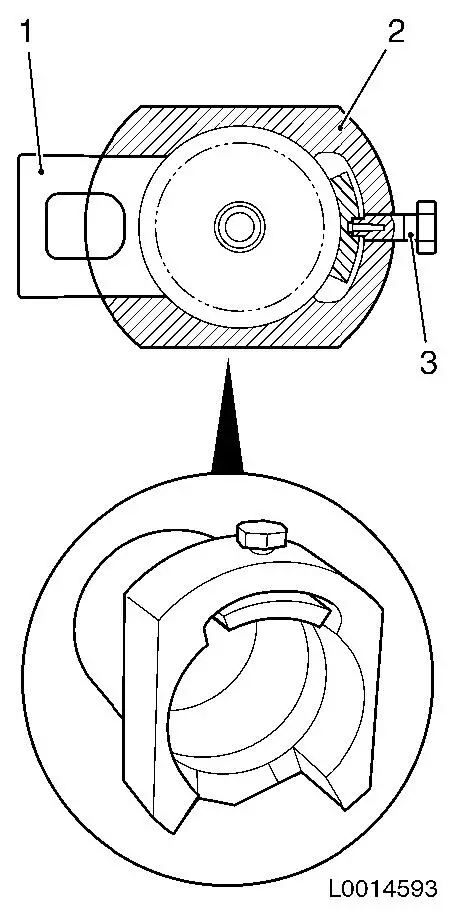
| 4. |
Attach MKM-6615-52 (2) to the rear
axle damping bushing (1)
| • |
Tighten bolt (3) by hand
Note: For a better
depiction, the illustration is a sectional view!
|
|
|
|
|
| 5. |
MKM-6615-12 (4) and MKM-6615-51 (3) hydraulic feed rod MKM-6615-10 comprising:
- MKM-6615-11 (5)
- MKM-6615-12 (4)
- MKM-6615-13 (1)
- attach to rear axle (arrow)
|
Important: Be sure that the nut
housed in MKM-6615-13 (1) is properly
fitted!
|
| 6. |
Guide the hydraulic feed rod together with MKM-6615-51 (3) from the outside through the damping
bushing and MKM-6615-52 (2)
| • |
Tighten the tool attachment with MKM-6615-13 (1)
|
| • |
Connect hand pump MKM-6616 with MKM-6615-11 (5)
| – |
Connect MKM-6616 with pressure
connection
(7)
Note: The arrow in the
lower illustration indicates the direction of extraction!
Note: For a better
depiction, the upper illustration is a sectional view.
|
|
|
Important: Watch for any
excessive increase in pressure. Check the installation position.
Maximum load 7 t!
|
| 7. |
Press out the bushing
|
| 8. |
Remove MKM-6615-52 (2) with
bushing
| • |
Unscrew MKM-6615-13 (1)
| – |
Remove bolt from MKM-6615-52
|
|
|
|
 Install
| 9. |
Position new damping bushing
| • |
Remove plastic ring before installation
|
| • |
Coat damping bushing with silicone grease
|
| • |
Attach MKM-6615-54 to damping
bushing
|
| • |
Attach damping bushing together with MKM-6615-54 to rear axle from inside
|
| • |
Align the groove (2) of MKM-6615-54
so that it is horizontal to the bottom edge of the dot (1)
|
|
|
|
|
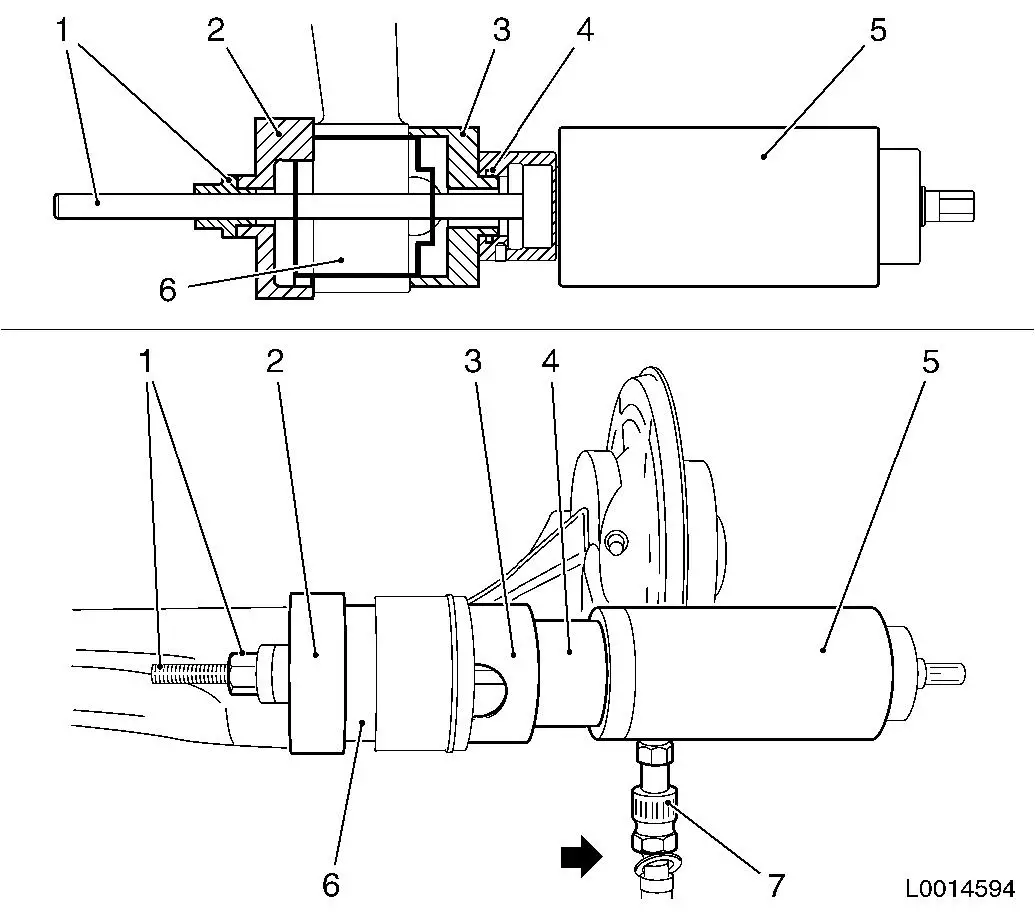
| 10. |
Guide the hydraulic feed rod MKM-6615-11 (5) together with MKM-6615-12 (4) and MKM-6615-53 (3) from the outside through the damping
bushing (6) and MKM-6615-54 (2)
| • |
Tighten the nut housed in MKM-6615-13
(1)
|
|
| 11. |
Connect hand pump MKM-6616 with MKM-6615-11 (5)
| • |
Connect MKM-6616 with pressure
connection
(7)
Note: For a better
depiction, the upper illustration is a sectional view.
Note: The arrow in the
lower illustration depicts the direction of installation!
|
|
|
Important: Watch for any
excessive increase in pressure. Check the installation position.
Maximum load 7 t!
|
| 12. |
Press in the bushing
|
| 13. |
Detach MKM-6615 and MKM-6615-10
|
| 14. |
Attach the plastic ring to the damping bushing from the
outside
| • |
Coat plastic ring with silicone grease
|
|
| 15. |
Attach 2x bracket
| • |
Screw in 2x bolt
Note: The screwed joint
is not tightened until after the rear axle is installed.
|
|
|

