|
Replace info display (TID/MID)
Note: If replacing
the display, check which version of the tank level sensor is
installed.
Note: When replacing
the control unit, before removing the control unit carry out a
"Reset" with TECH 2.
 Remove Remove
| 2. |
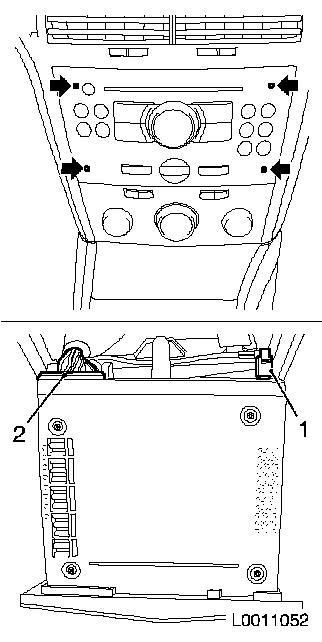
Remove radio
| • |
Insert fitting bracket KM-6067 in
installation holes (arrow) and withdraw radio
Note: Press removal bar
outwards and at the same time withdraw the radio from the
holder.
|
| • |
Disconnect 2x wiring harness plug (1) and (2)
|
|
|
|
| 3. |
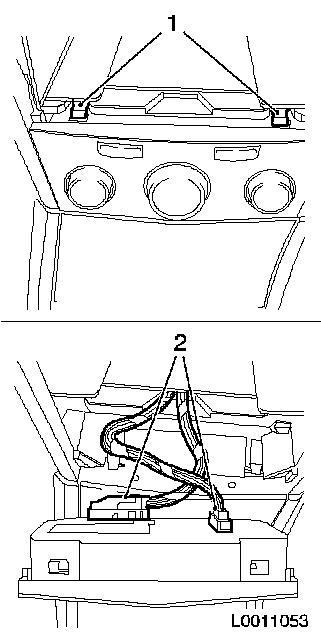
Remove heating / air conditioning control
| • |
Disconnect 2x wiring harness plug (2)
|
|
|
|
| 4. |
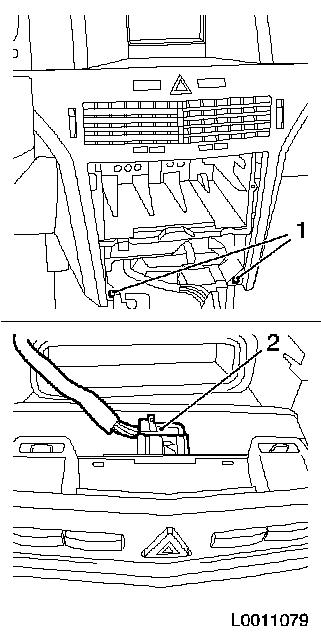
Remove instrument panel padding cover
| • |
Disconnect wiring harness plug (2)
|
|
|
|
| 5. |
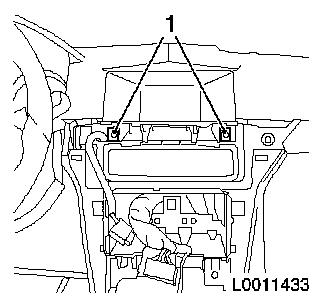
Remove info display
| • |
Release wiring harness plug and disconnect
|
|
|
|
| 6. |
Remove info display panel
| • |
Undo 2x clip
Note: Remove
upwards
|
|
 Install
| 7. |
Fit info display panel
|
| 8. |
Install info display
| • |
Connect and lock wiring harness plug
|
|
| 9. |
Attach instrument panel padding cover
| • |
Connect wiring harness plug
|
|
| 10. |
Install heating / air conditioning control
| • |
Connect 2x wiring harness plug
|
|
| 11. |
Install radio
| • |
Connect 2x wiring harness plug
Note: Radio must
audibly engage.
|
|
| 13. |
Program volatile memories
Note: If replacing the
display, check which version of the tank level sensor is installed.
Note: When replacing
the control unit, before fitting the control unit, program with
TECH 2.
|
|
