Tire Pressure Indicator Sensor Replacement
Removal Procedure
| 2. |
Dismount the tire from the
rim. |
| 3. |
Remove the valve core and
release the air pressure. |
|
Note: The TPMS valve
can be identified by the grey plastic dust cap.
|
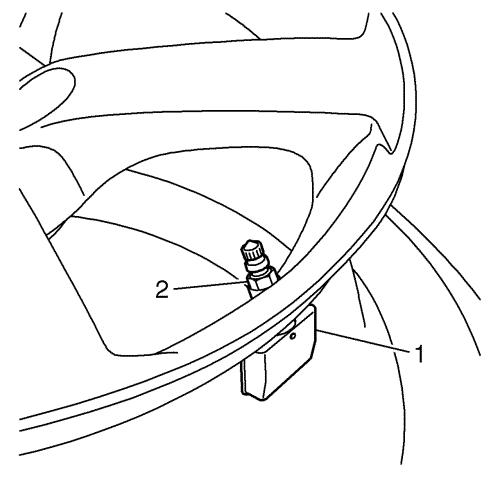
| 4. |
Remove the nut (2) and drop
the transmitter (1) into the tire. |
| 5. |
Gently bounce the tire to
ensure that the transmitter falls to the bottom of the tire.
|
| 6. |
Gently remove the tire and the
sensor at the bottom. |
Installation Procedure
|
Note: Ensure correct
installation position. The flat side of the valve body must face
the hub of the rim.
|
| 1. |
Fit the sensor in the hole in
the wheel rim. |
| |
Insert tire pressure sensor with new sealing ring, valve core
and dust cap. Tighten the valve core. |
Tighten
0.3 N·m (2.7 lb
in)
| 2. |
Counterhold the sensor (1)
when the nut (2) is fitted. |
Tighten
8 N·m (71 lb
in)
|
Note: When changing
the seal, use a plastic tool.
|
|
Note: Only nickel
coated valve cores are allowed.
|
| 3. |
Fit the tire onto the rim and
balance it. |
|
Note: To prevent
damage to tire pressure sensor, the tire should be fitted to the
rim starting approx. 20° from the valve and working in
clockwise direction.
|
|
Note: When the tire
is replaced, also change the seal and the valve core.
|
| 5. |
Drive the vehicle for at least
9 minutes above 40 km/h (25 MPH). |
|
