volkswagen Workshop Repair Guides

Volkswagen Workshop Service and Repair Manuals

Removing inner release handle > < Removing
Installing
Installing
–  Insert the lock cylinder into the door handle.
   
–  Clamp the door handle in a vice with protective jaws.
–  Place the bearing -1- and carrier -2- on the lock cylinder.
  N57-0300
–  Insert the torsion spring -1- in the lock cylinder housing so that the point of the torsion spring is towards the rear.
  N57-0301
–  Place the assembly tool -T10009- with the narrow slot -arrow- on the torsion spring -1-.
  N57-0302
–  Push down the outer sleeve of the assembly tool -T10009- until it is lying on the bearing -1-.
  N57-0306
To make the following assembly steps clearer, the assembly tool -T10009- is shown in a cutaway view.
–  Rotate the assembly tool -T10009- 180° until the slot -arrow- is pointing forwards.
  N57-0304
–  Push down the central rod -1- on the assembly tool -T10009-. This compresses the torsion spring.
–  The point of the torsion spring jumps out of the slot in the assembly tool and engages in the bearing.
–  Now carefully lift the outer sleeve -1- of the assembly tool -T10009-.
  N57-0305
The central rod -2-, which is pushed over the lock cylinder, now becomes visible.
  N57-0290
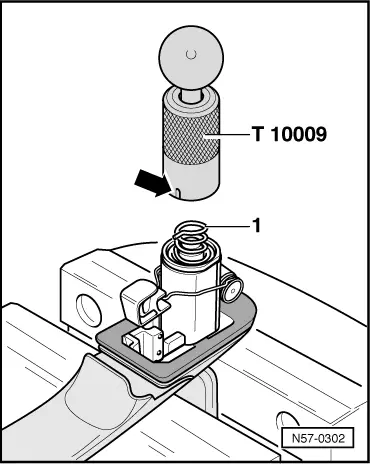
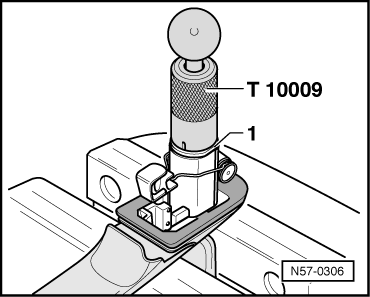
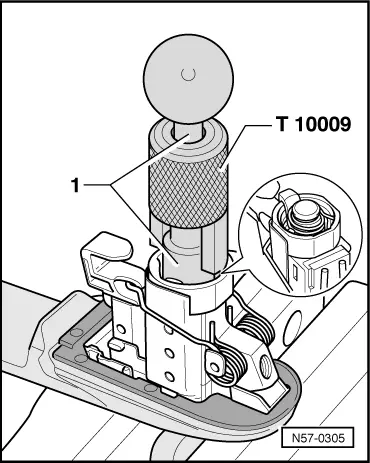
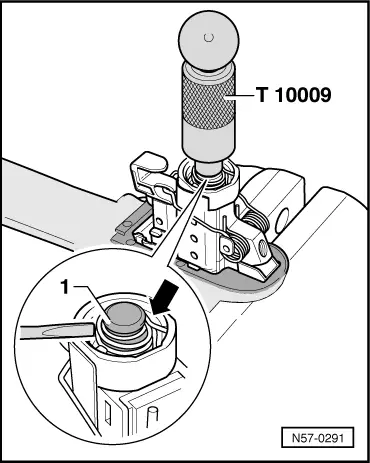
–  Lift the assembly tool -T10009- until the groove in the lock cylinder can be seen.
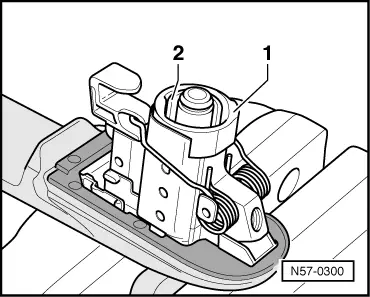
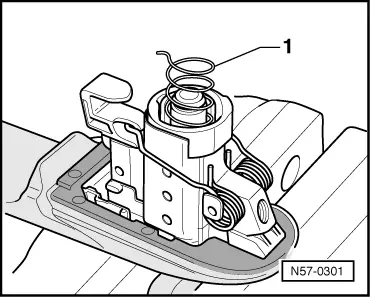
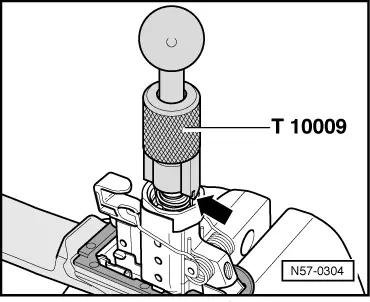
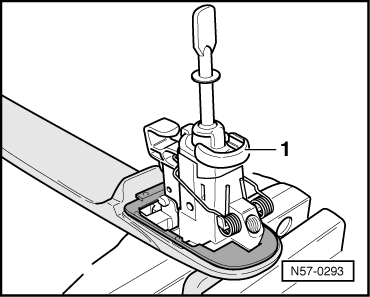
–  The torsion spring -1- must have engaged in the bearing -arrow-.
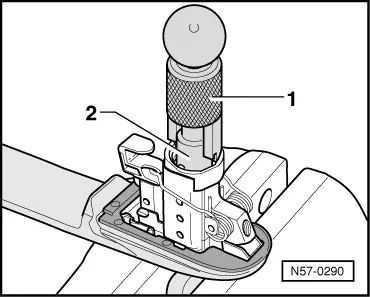
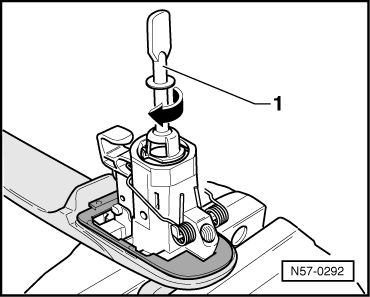
–  As an aid, the torsion spring can be pushed into the slot in the lock cylinder using a small screwdriver.
–  Remove assembly tool.
  N57-0291
–  Fit the paddle onto the torsion spring and push it down.
–  Circular motions of the paddle release the torsion spring from the slot in the lock cylinder and allow it to be compressed further.
  N57-0292
–  Insert the lock washer.
–  Perform functional check.
  N57-0293

Removing inner release handle > < Removing