
Golf Mk3
| Repairing rear brakes |
 Note
Note| t | After working on the rear wheel brakes: |
| t | Release handbrake. |
| t | Firmly depress brake pedal once. |

| 1 - | Spring plate |
| q | To remove, push against the spring and turn through 90°. |
| 2 - | Spring |
| 3 - | Brake shoe with lever for handbrake |
| q | Removing and installing → Chapter. |
| q | Adjust handbrake → Chapter. |
| 4 - | Upper return spring |
| q | Unhook with spring pliers. |
| 5 - | Lower return spring |
| q | Grease contact points with lubricating paste -G 000 650-. |
| 6 - | Spring |
| 7 - | Brake shoes |
| q | Removing and installing → Chapter. |
| q | Minimum lining thickness 2.5 mm |
| 8 - | Slides |
| 9 - | Brake carrier |
| q | For vehicles with four-wheel drive. |
| 10 - | Cap |
| q | Remove to check brake pad thickness. |
| 11 - | Shoe steady pin |
| 12 - | Brake carrier |
| 13 - | Hexagon socket head bolt, 10 Nm |
| q | Checking for leaks → Fig.. |
| q | Aluminium wheel brake cylinders are secured with just one bolt. |
| q | Aluminium wheel brake cylinders can be retrofitted. |
| q | Mixed installation is permissible. |
| 14 - | Wheel brake cylinder |
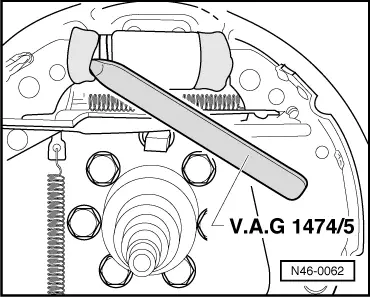
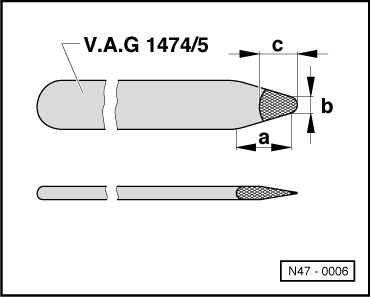
| 15 - | Wedge |
| q | To remove and install the brake drum, push upwards through a wheel bolt hole ⇒ Page → Chapter |
| 16 - | Push rod |
| q | Grease contact points with lubricating paste -G 000 650-. |
| 17 - | Locating spring |
| q | Unhook with spring pliers. |
|
|