volkswagen Workshop Repair Guides

Volkswagen Workshop Service and Repair Manuals

Checking oil pressure and oil pressure switch > < Installing and adjusting oil pump with balancer shaft gear assembly
Removing and installing sump
Special tools and workshop equipment required
   
t  Jointed wrench 10 mm -3185-
  W00-0331
t  
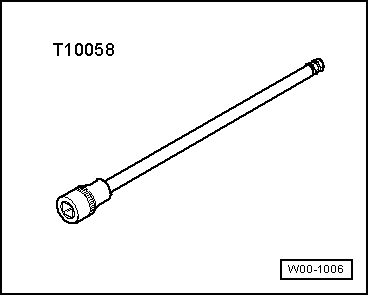
Allen key, long reach -T10058-
t  
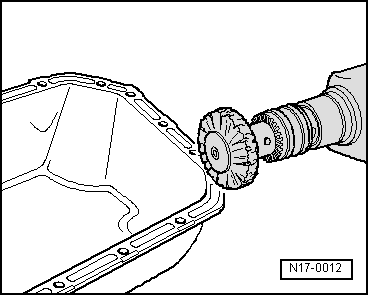
Hand drill with plastic brush attachment
t  
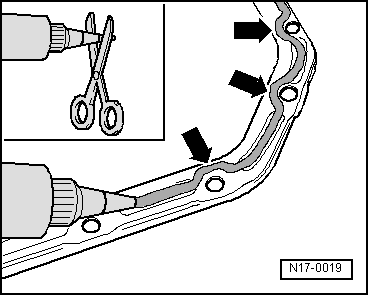
Silicone sealant -D 176 404 A2-
Removing
–  Remove centre and right insulation trays → General body repairs, exterior; Rep. Gr.50.
–  Drain engine oil.
  Note
Observe environmental regulations for disposal.
–  Pull 3-pin connector off oil level and oil temperature sender -G266-.
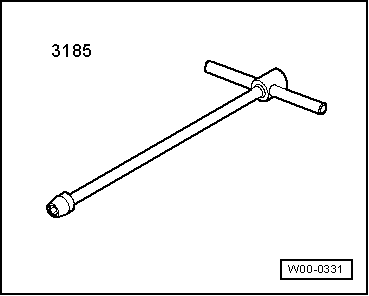
–  Loosen or tighten sump bolts using 10 mm jointed wrench -3185-. Loosen or tighten flywheel-end bolts only with allen key, long reach -T10058-.
–  Remove sump. If necessary, release sump with light blows of a rubber-headed hammer.
–  Remove sealant residue on cylinder block with a flat scraper.
  W00-1006
–  Remove sealant residue on sump with a rotating brush, e.g. a hand drill with a plastic brush attachment (wear protective glasses).
–  Clean sealing surfaces. They must be free of oil and grease.
Installing
  Note
t  Observe the use-by date of the sealing compound.
t  The oil sump must be installed within 5 minutes of applying silicone sealing compound.
  N17-0012
–  Cut off tube nozzle at forward marking (approx. 3 mm nozzle Ø).
–  Apply silicone sealant -D 176 404 A2-, as shown, to clean sump sealing surface. Sealant bead must be:
t  2...3 mm thick.
t  Run bead along inner side of bolt holes -arrows-.
  Note
The sealing compound bead must not be thicker. Otherwise excess sealing compound will enter the sump and can block the oil suction line strainer.
  N17-0019
–  Sealant bead must be applied with extreme care in vicinity of arrows. (The figure shows the position of the sealant bead on the cylinder block.)
–  Fit sump immediately and tighten bolts as follows:
1 - Tighten all bolts between sump and cylinder block only very lightly and in diagonal sequence.
2 - Tighten bolts between sump and gearbox lightly.
3 - Further tighten all bolts between sump and cylinder block lightly and in diagonal sequence.
4 - Tighten bolts between sump and gearbox to 45 Nm.
5 - Tighten all bolts between sump and cylinder block diagonally to 15 Nm.
  Note
t  When installing sump with engine out of the vehicle, ensure that sump is flush with cylinder block at flywheel end.
t  Let sealing compound dry for approx. 30 minutes after installing sump. Only then fill with engine oil.
Further assembly is basically the reverse of the dismantling procedure.
  N17-10059

Checking oil pressure and oil pressure switch > < Installing and adjusting oil pump with balancer shaft gear assembly