volkswagen Workshop Repair Guides

Volkswagen Workshop Service and Repair Manuals

Assembly overview - crankcase > < Assembly overview - poly V-belt drive
Removing and installing poly V-belt
Special tools and workshop equipment required
   
t  Mandrel -T10060 A-
Removing
–  Remove noise insulation tray → General body repairs, exterior; Rep. Gr.50.
–  Pull fuel filter out of bracket and lay it with hoses to side.
–  Mark direction of rotation of poly V-belt.
  W00-10235
–  Using an open jaw spanner, swing tensioning element in direction of arrow to remove tension from poly V-belt.
  A13-0083
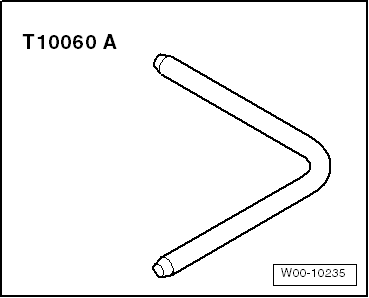
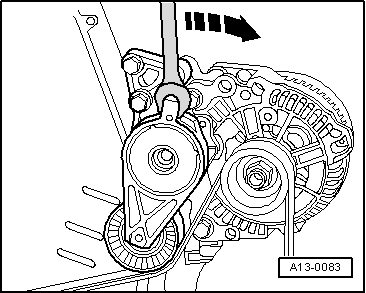
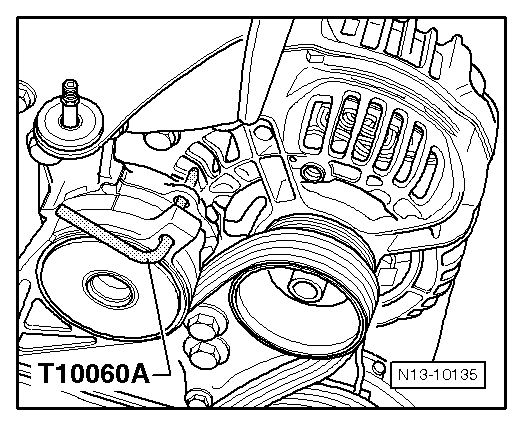
–  Lock tensioner with locking pin -T10060 A-.
–  Remove poly V-belt.
Installing
–  Installation is carried out in the reverse order. When installing, note the following:
  Note
t  Ensure, before installing poly V-belt, that all ancillaries (alternator, air conditioner compressor) are secured tightly.
t  When fitting poly V-belt, check direction of belt rotation and proper seating of belt in pulleys.
t  
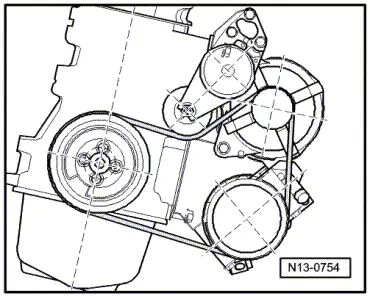
Lastly, place poly V-belt over alternator.
After completing repairs always:
–  Start engine and check how belt runs.
  N13-10135
Belt drive without air conditioner compressor
  N13-0755
Belt drive with air conditioner compressor
  N13-0754

Assembly overview - crankcase > < Assembly overview - poly V-belt drive