| –
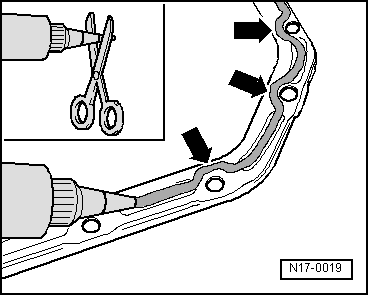
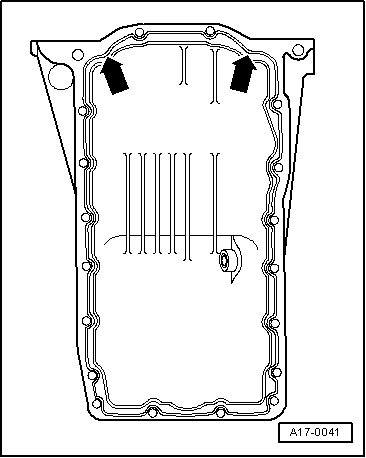
| Apply silicon sealant, as shown in diagram, with great care (particularly in area of -arrows-) to clean contact surface of oil sump. |
| –
| Fit sump immediately and tighten bolts as follows: |
| 1 - | Tighten all bolts between sump and cylinder block only very lightly and in diagonal sequence. |
| 2 - | Tighten bolts between sump and gearbox lightly. |
| 3 - | Further tighten all bolts between sump and cylinder block lightly and in diagonal sequence. |
| 4 - | Tighten bolts between sump and gearbox to 45 Nm. |
| 5 - | Tighten all bolts between sump and cylinder block diagonally to 15 Nm. |

Note | t
| When installing sump with engine out of the vehicle, ensure that sump is flush with cylinder block at flywheel end. |
| t
| Let sealing compound dry for approx. 30 minutes after installing sump. Only then fill with engine oil. |
| Further assembly is basically the reverse of the dismantling procedure. |
|
|
|