
Golf Mk6
|
|
|
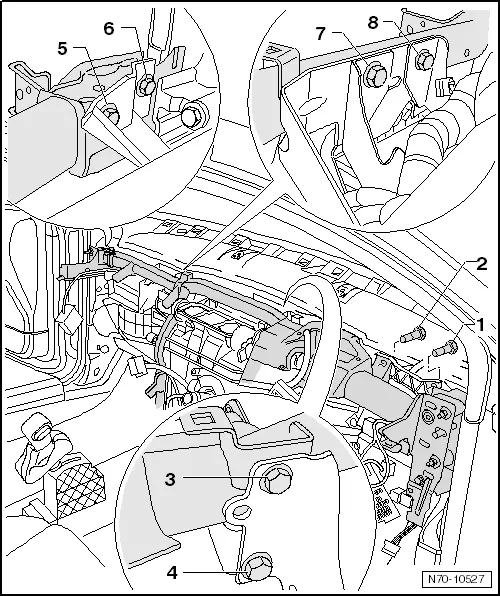
| – | Press out the two spreader pins -3- upwards. |
| – | Pull out both spreader rivets -2-. |
| – | Remove intermediate pieces -1- and -4- from heater and air conditioning unit. |

 Note
Note
|
Note
|
|
|
|
|
|
| – | Remove bolts -1- and -2- (4.5 Nm). |
| – | Remove both bolts -3- and -4- (9 Nm). |
| – | Remove bolts -5- and -6- (4.5 Nm). |
| – | Remove both bolts -7- and -8- (9 Nm). |
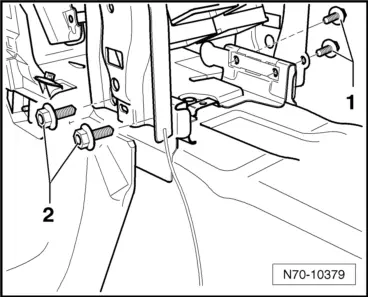
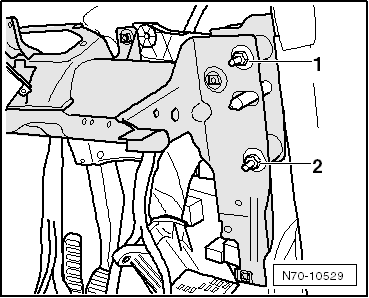
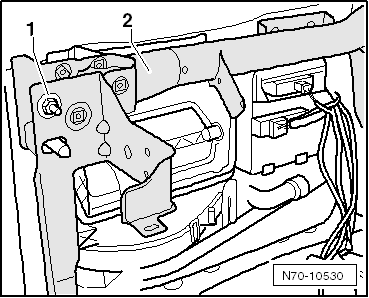
| – | Remove both bolts -1- and -2- (20 Nm). |
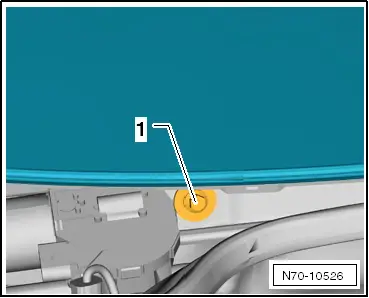
| – | Unscrew bolt -3- (20 Nm). |

Note
|
Note
|
|
|
|