
Golf Mk6
| Removing and installing charge air cooler (Golf) |
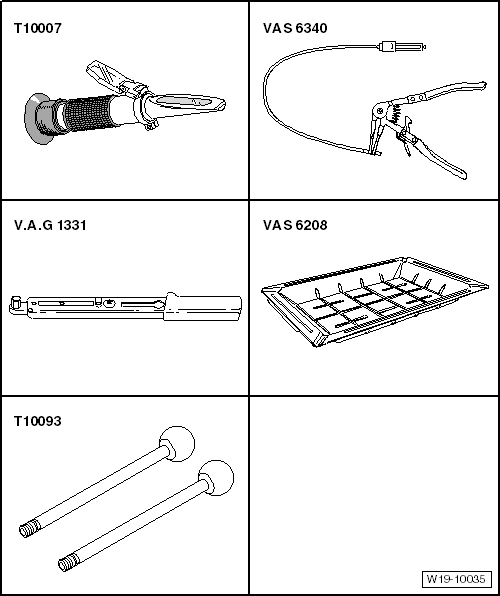
| Special tools and workshop equipment required |
| t | Refractometer -T10007- |
| t | Hose clip pliers -VAS 6340- |
| t | Torque wrench -V.A.G 1331- |
| t | Guide rods -T10093- |
| t | Drip tray for workshop hoist -VAS 6208- |
 Note
Note
|
|
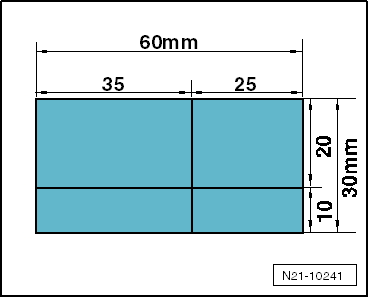
|
|
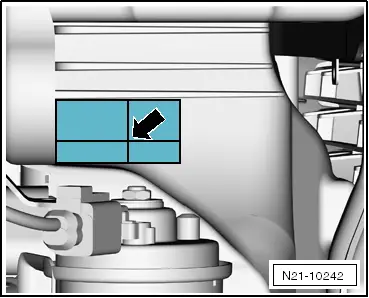
|
|
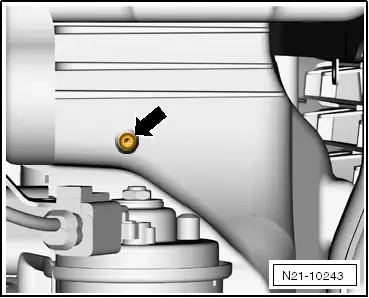
|
|
|
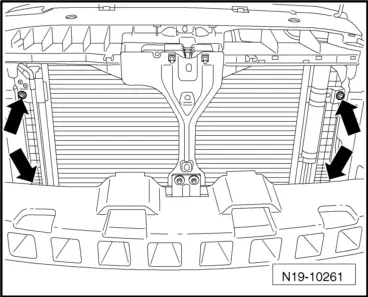
| Component | Nm |
| Cowling to radiator | 5 |
| Radiator to charge air cooler | 5 |
| Charge air cooler to condenser | 5 |