Golf Mk6
|
 Note
Note
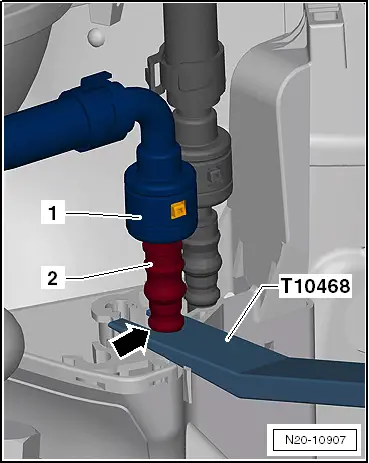
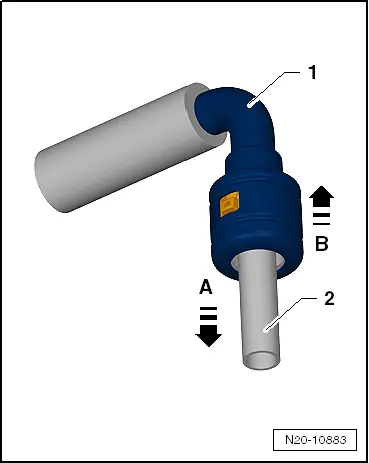
| Push-on coupling | Colour code on connector |
| Fuel supply | Black |
| Fuel return line | Blue |
| Breather | White, beige |
| Vacuum | Green |
|
 WARNING
|
|
|
|
|
|
|

|
|
|
|
|
|
|
|
|
|
|

|
| Push-on coupling | Colour code on connector |
| Fuel supply | Black |
| Fuel return line | Blue |
| Breather | White, beige |
| Vacuum | Green |
|
|
|
|
|
|
|
|
|
|
|
|
|
|
|
|
|
|
|