volkswagen Workshop Repair Guides

Volkswagen Workshop Service and Repair Manuals

Removing and installing poly V-belt pulley on alternator > < Assembly overview
Removing and installing alternator, 2.0 l, 199/188 kW TSI engine
Special tools and workshop equipment required
   
t  Torque wrench -V.A.G 1331-
  W00-0427
t  Locking pin -T10060 A-
  W00-10235
t  Hose clip pliers -V.A.G 1921-
Removing:
–  Disconnect battery → Chapter.
  W00-0464
–  Remove intake manifold -4-.
–  To do this, open retaining clamps -3- of intake manifold and remove intake manifold out of retaining clamps.
–  Loosen clamps -1- of intake manifold -4- with hose clip pliers -V.A.G 1921-, pull intake manifold from intake connecting pipe and take intake pipe out of engine compartment.
–  Remove engine cover -2- → Booklet25.1.
  N27-10824
–  Loosen clamp -5- with hose clip pliers -V.A.G 1921- and remove connecting hose -6- from activated charcoal filter -4-.
–  Remove pressure retention valve together with connecting hose -2- from activated charcoal filter -4-.
–  Release catch -1- and pull activated charcoal filter -4- upwards out of bracket.
–  Remove bolt -3- and put pipework slightly up.
–  Remove poly V-belt → Engine; Rep. gr.13.
  N27-10825
–  Unscrew bolts -1- and -2- for air conditioner lines.
  N27-10826
–  Unscrew bolts -2- of alternator -3- about 5 turns.
–  Drive back threaded bush of alternator with light hammer blows on bolts -2- to ease removal of alternator -3-.
–  Remove bolts -2-.
–  Remove alternator -3- from bracket -1-.
  N27-10827
–  Unscrew securing nut -1- and remove wiring retainer from alternator.
–  Lever cap -2- off. Unscrew securing nut located beneath and remove battery positive wire from connector thread of alternator.
–  Release and disconnect DF wire connector -1-.
  N27-10828
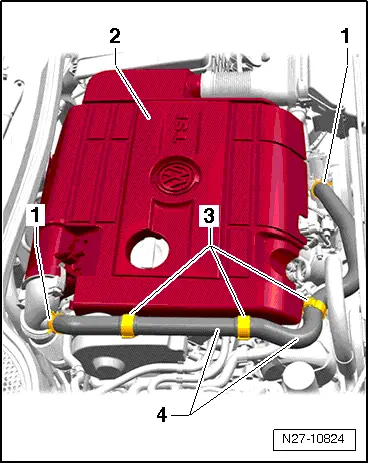
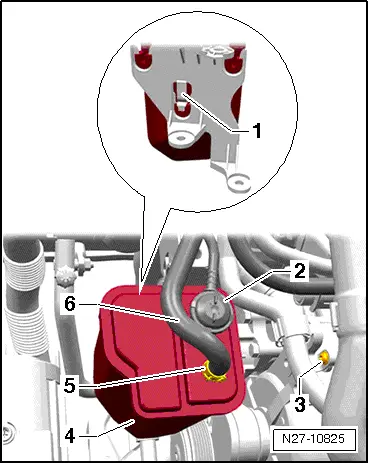
–  Swivel alternator -1- in direction of -arrow- to the right out of vehicle. To do this, push loose air conditioner lines -2- slightly to side.
Installing:
Install in the reverse order of removal. When doing this, note the following:
  Caution
t  When installing used poly V-belts observe the direction of rotation marked on removal!
t  When fitting poly V-belt, ensure it is seated correctly in belt pulley!
–  Tighten threaded connections to torques specified in assembly overview → Chapter.
–  Reconnect battery → Chapter.
–  Start engine and check belt is running correctly.
–  Switch off engine.
  N27-10829

Removing and installing poly V-belt pulley on alternator > < Assembly overview