
Passat (B3)
 Note
Note
|
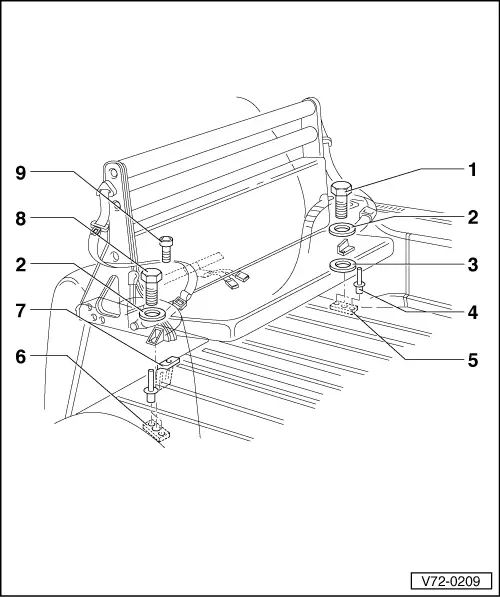
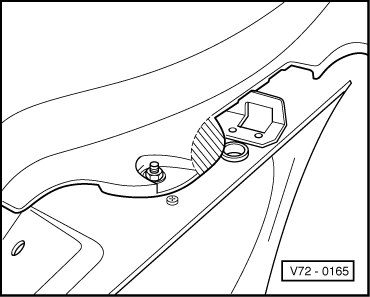
| 1 - | Hexagon head bolt |
| q | 7/16 x 25 |
| q | 80 Nm |
| 2 - | Washer |
| 3 - | Spacer |
| 4 - | Rivet |
| 5 - | Reinforcement plate (beneath luggage compartment floor) part no. -333 887 146 A- (small reinforcement plate), part no. -333 887 146- for four-wheel drive (large reinforcement plate) |
| q | Only drill holes with depth stop (20 mm) |
| q | Lower fuel tank to drill and install reinforcement plate |
| q | Remove anti-corrosion protection prior to installation of reinforcement plate |
| 6 - | Reinforcement plate (in longitudinal member) |
| q | When installing, observe clearance on side in longitudinal member |
| 7 - | Backrest centre bearing bracket |
| q | Bolts provided can be reused |
| 8 - | Hexagon head bolt |
| q | 7/16 x 35 |
| q | 80 Nm |
| 9 - | Socket head bolt |
| q | 9 Nm |
|
|
|
|
|
Note
|
|
Note
|
|