volkswagen Workshop Repair Guides

Volkswagen Workshop Service and Repair Manuals

Removing and installing sub-frame >09.99 > < Checking swivel joint
Running gear, axles, steering
Servicing front suspension
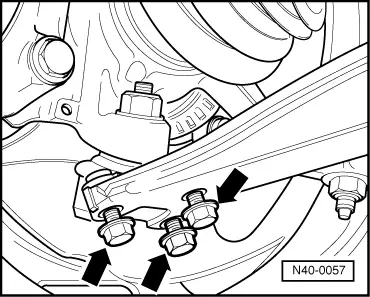
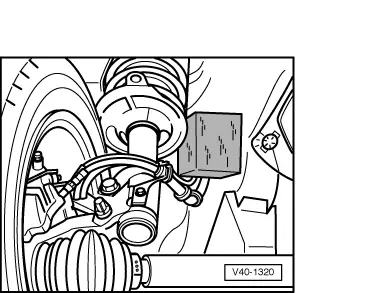
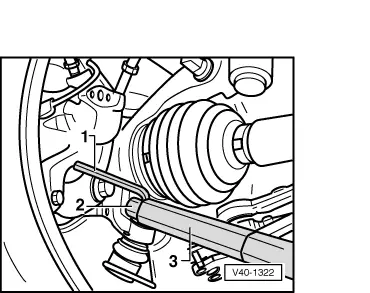
Removing and installing ball joint

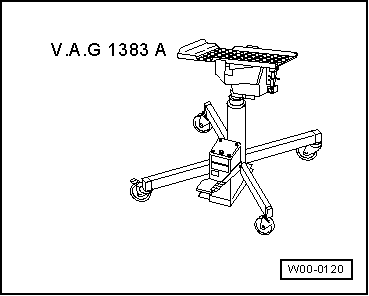
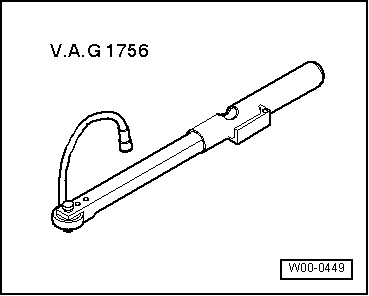
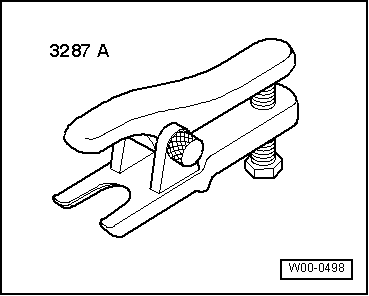
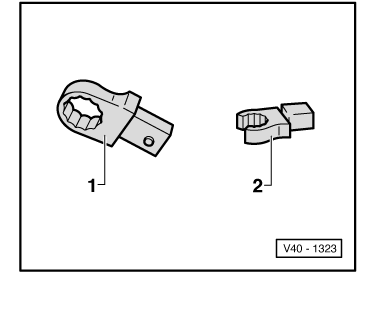
Special tools and workshop equipment required
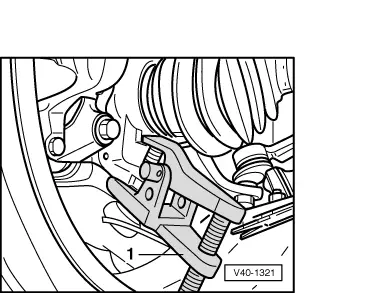
 
W00-0120
  • ◆ V.A.G 1383 A Gearbox jack
 
W00-0449
  • ◆ V.A.G 1756 Angle wrench
 
W00-0498
  • ◆ 3287A Ball joint puller
 
V40-1321
  • →      1 -     Ring spanner insert (commercial type, 16 mm AF)
  •      2 -     Slotted ring spanner insert (commercial type, 16 mm AF)

Removing

 
N40-0057
  • ‒ Loosen 12-point nut.
  • ‒ Mark installation position of bolts.
  • ‒ → Remove bolts (arrows).
 
V40-1320
  • ‒ → Swing wheel with suspension strut outwards and support.
 
V40-1321
  • ‒ → Install ball joint splitter as shown in illustration and press out ball joint.

Notes:

  • ◆ Place gearbox jack V.A.G 1383/A, or similar, underneath (danger of accident through falling parts when pressing out the ball joint).
  • ◆ To protect swivel joint threads leave nut on a few turns.

Installing

  • ‒ Fit ball joint in wheel bearing housing.
 
V40-1322
  • ‒ → Screw on new self-locking nut, and counter-hold with hexagon key (5 mm AF).
  •      1 -     Hexagon key (5 mm AF), shortened approx. 10 mm.
  •      2 -     Ring spanner insert or slotted ring spanner insert => Fig. 40-1323
  •      3 -     V.A.G 1331
  • ‒ Secure ball joint to wishbone (bolts on old marks).
 
V40-1323
  • →      1 -     Ring spanner insert (commercial type, 16 mm AF)
  •      2 -     Slotted ring spanner insert (commercial type, 16 mm AF)

Note:

Check bellows is not damaged or twisted.

Tightening torques

Ball joint to wishbone: 20 Nm + turn 90° further

Ball joint to wheel bearing housing: 35 Nm

Removing and installing sub-frame >09.99 > < Checking swivel joint