
940 L4-2.3L SOHC VIN 88 B230F (1992)
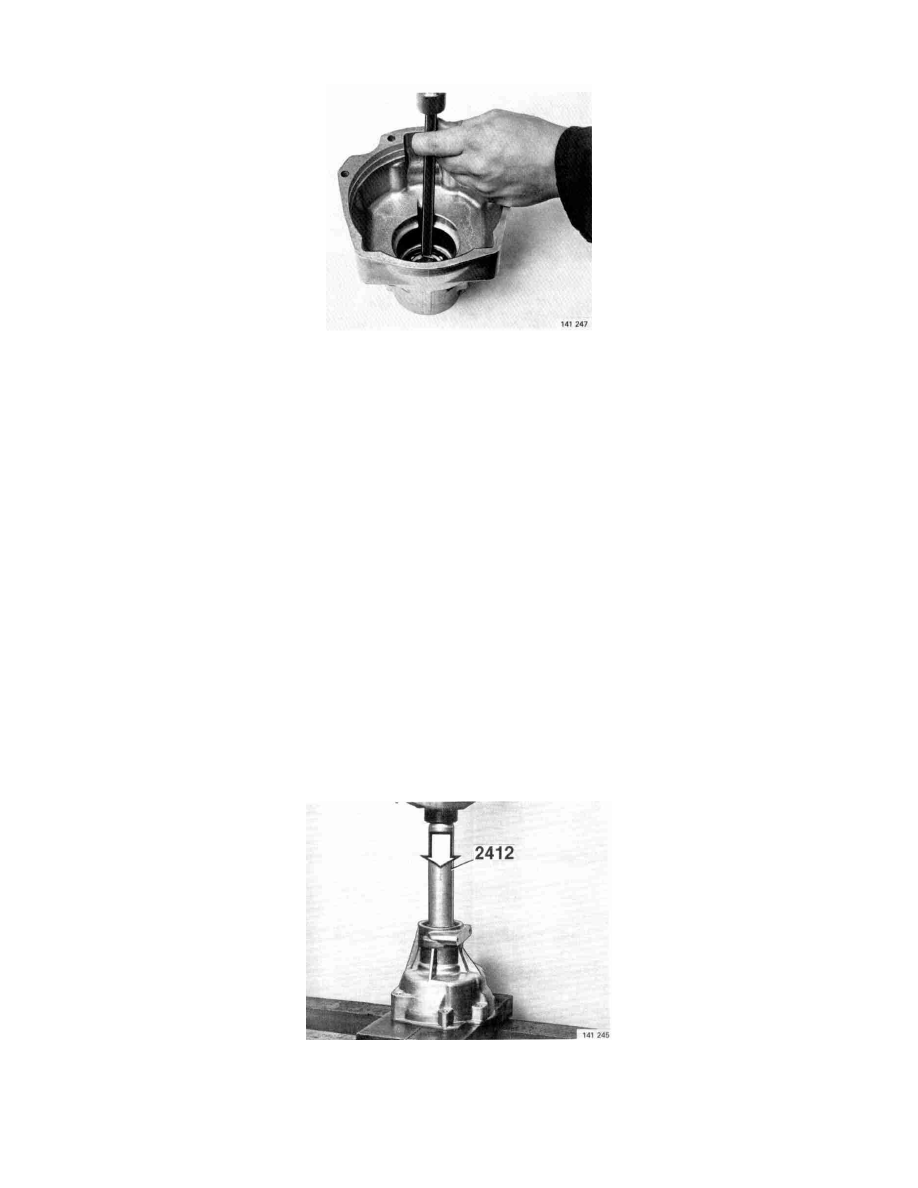
31. Withdraw output shaft bearing.
32. Tap out bearing from rear housing. (Only if bearing is to be replaced.) Use brass drift.
Cleaning and Checking
Examining Type J and P Overdrive:
Check that control orifice drilling between relief valve and solenoid is free from dirt. If it is not possible to blow-clean, use a pointed matchstick.
Do not attempt to clean the orifice with wire or its calibration may be impaired.
Check that groove in front of ring gear in output shaft is thoroughly clean. (Dirt collects here as a result of centrifugal force.) Clean all parts and
check carefully for signs of wear, cracks or other damage.
Check following carefully:
-
that filter is undamaged.
-
operating pistons for scores or wear.
-
valves for wear.
-
all gear wheels and bearings for cracks and wear.
-
that clutch return spring is 55.5 ± 1.5 mm (2.1852 ± 0.060 in) long.
-
that springs are not misshaped or cracked.
-
brake ring for cracks, scores, wear etc.
-
cone clutch for signs of burning or wear.
-
solenoid by means of a 12 volt battery and an Ammeter. Power consumption 1.5-2.0 A. Check movement of solenoid plunger.
Assembling Overdrive
NOTE: Use new gaskets, O-rings and seals when assembling overdrive. Observe utmost cleanliness since the hydraulic system is very sensitive to dirt.
Assembling Rear Housing
1. Press bearing in rear housing. Use drift P/N 2412.