
C70 Coupe L5-2.3L Turbo VIN 53 B5234T3 (2001)
Hint:
Scrape off the soundproofing panels with a plastic filler spatula.
-
1 nut (D) and 1 screw (E) from the lock bracket.
-
the connector and the remaining nuts (D) for the lift mechanism motor.
-
the remaining screw (E) for the SIPS block in the bottom edge of the door.
Lift out the SIPS block,
Note!
Certain cars between chassis numbers 329-604 have standard bolts and washers instead of adjustment screws. Replace with adjustment screws.
-
the lock nuts (A) (previous illustration) on both the adjustment screws. Counterhold with a torx screwdriver. Screw in both the adjustment screws as
far as they will go.
Note!
The front adjustment screw must not press into the guide rail. Screw in lightly by hand until it engages.
-
6 screws (B) and (F) in the upper edge of the door securing the cassette in the door.
Lift out the power window mechanism cassette.
Caution!
Take care not to damage the door panels when lifting the cassette out of the door. It is easier if two people lift in the cassette.
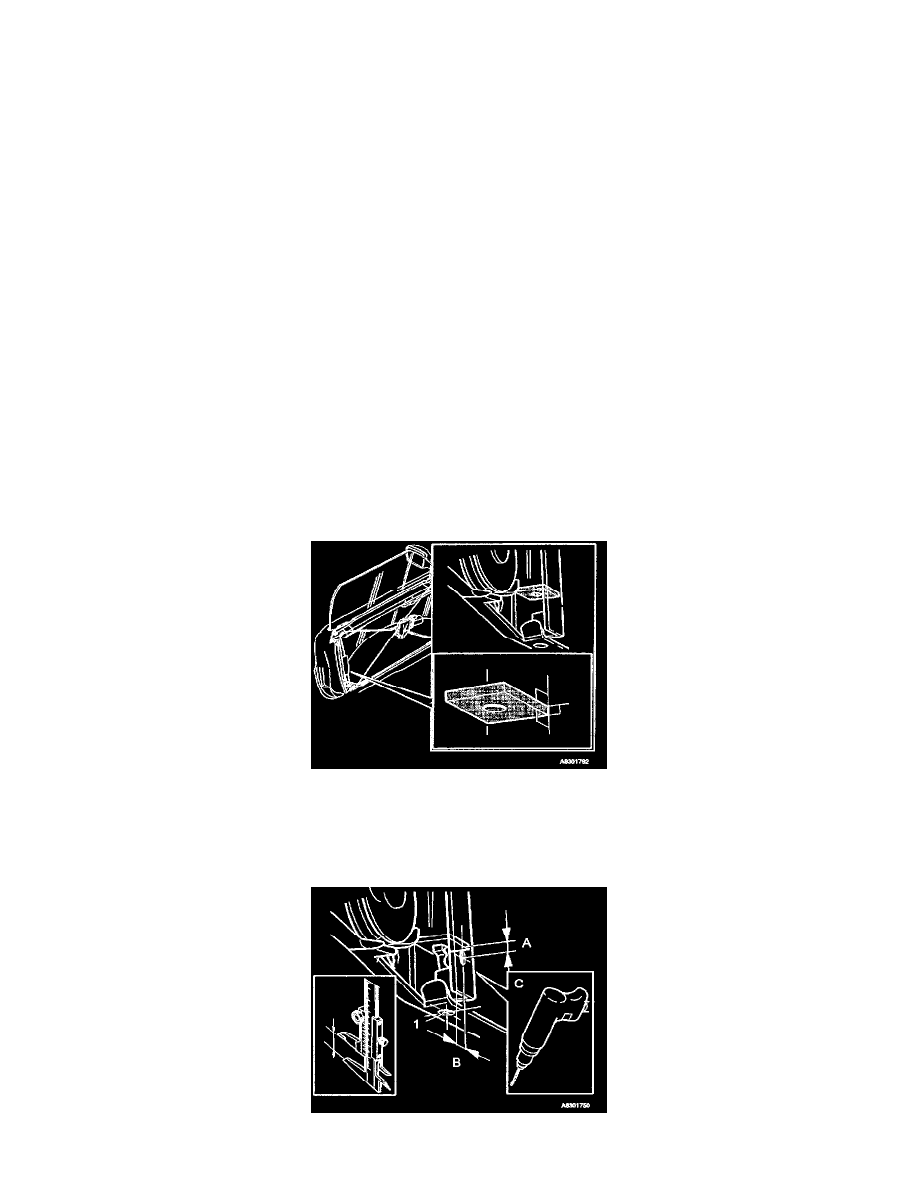
Aligning the bracket
4
Remove any rubber stops or remains.
Align the wing/bracket so it is at a right-angle (90 degrees).
Measuring and drilling
5
Use calipers to mark out A and B.