
S40 L4-1.9L Turbo VIN 29 B4204T3 (2001)
Turn the inner ring 90 degrees in relation to the ball holder.
Remove the inner ring.
Cleaning constant velocity joint components
Thoroughly wash the components in the constant velocity joint.
Note: Replace the drive shaft assembly if any component has cracking or wear damage. Scratches and minor pitting of the ball tracks are permitted.
Installing the inner ring in the ball holder
Locate the markings to each other. Install a ball bearing.
Note: The location of the ball bearings.
Turn the inner ring and the ball bearing holder. Install the balls one by one in the same positions as before.
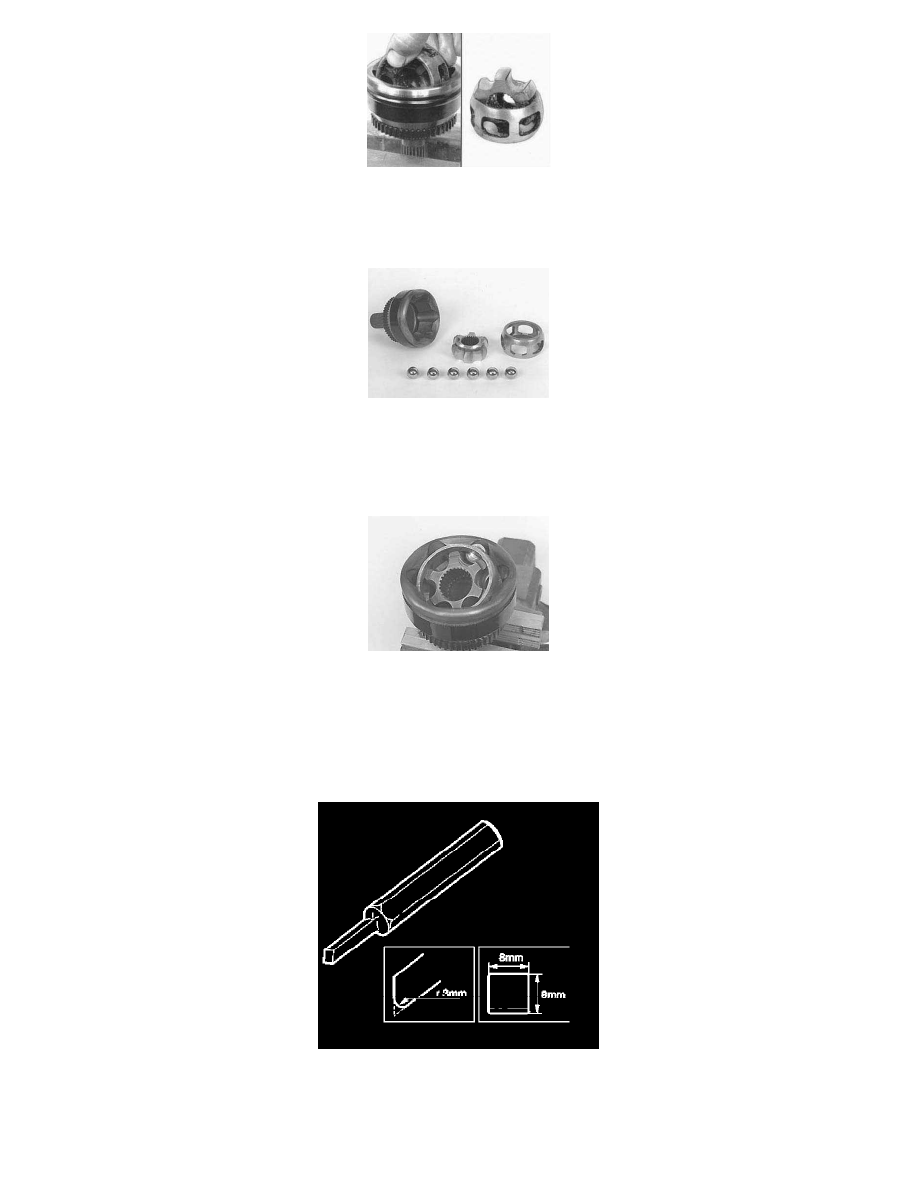
Releasing constant velocity joint with visible snap ring
To facilitate removing the constant velocity joint, grind a drift as illustrated. Rounding the underside of the edge will stop the drift catching in the snap
ring groove on the drive shaft. The slightly sharper angle (approximately 60 degrees) means that the drift has a greater mating surface against the
inner ring.
Freeing the constant velocity joint