
S60 L5-2.4L VIN 64 B5244S6 (2003)
For the correct values, see Specifications, mechanical See: Specifications/Mechanical Specifications/Specifications, Mechanical.
Disassembling connecting rods and pistons
Check first that the piston and connecting rod are marked.
Piston marking: Scrape the top of the piston clean. If the marking is unclear, mark the piston with the cylinder number and an arrow pointing to the
front of the engine. Use a marker pen.
Connecting rod marking: See Crank mechanism, assembling See: Crank Mechanism, Assembling.
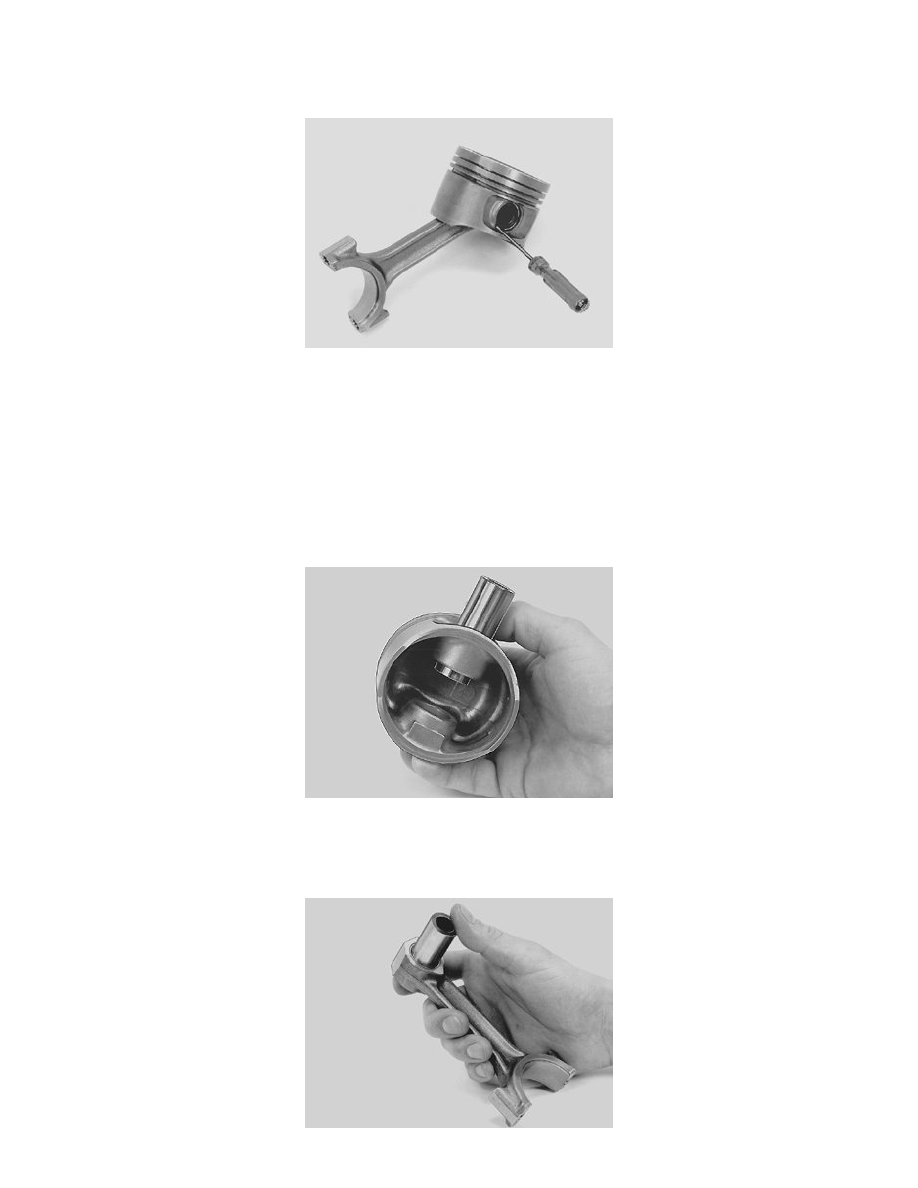
Carefully push out the lock-ring using a groove-cut chisel.
Warning! The snap ring can easily come off. Wear protective goggles!
Press out the piston pin with your thumb. Clean and check the connecting rods, caps and screws for damage, signs of wear or cracks.
Checking the alignment of the piston pins in the pistons
The piston pin must not be loose. It should be possible to push it through the hole using thumb pressure.
Replace the piston if the play is too great.
Checking the alignment of the piston pins in the connecting rods