
S60 L5-2.4L VIN 64 B5244S6 (2003)
Knock Sensor: Service and Repair
Knock sensor (KS), replacing
Removal and Installation
Note! As the illustrations in this service information are used for different model years and / or models, some variation may occur. However,
the essential information in the illustrations is always correct.
Removing the knock sensor (KS)
Remove the cable from the battery negative terminal. First read Battery, disconnecting See: Starting and Charging/Battery/Service and
Repair/Procedures/Battery, Disconnecting.
Drain the fuel injection system. See Fuel tank, draining See: Fuel Delivery and Air Induction/Service and Repair.
Remove:
-
the intake manifold. See Intake manifold/gasket, replacing See: Engine, Cooling and Exhaust/Engine/Intake Manifold/Service and Repair/Intake
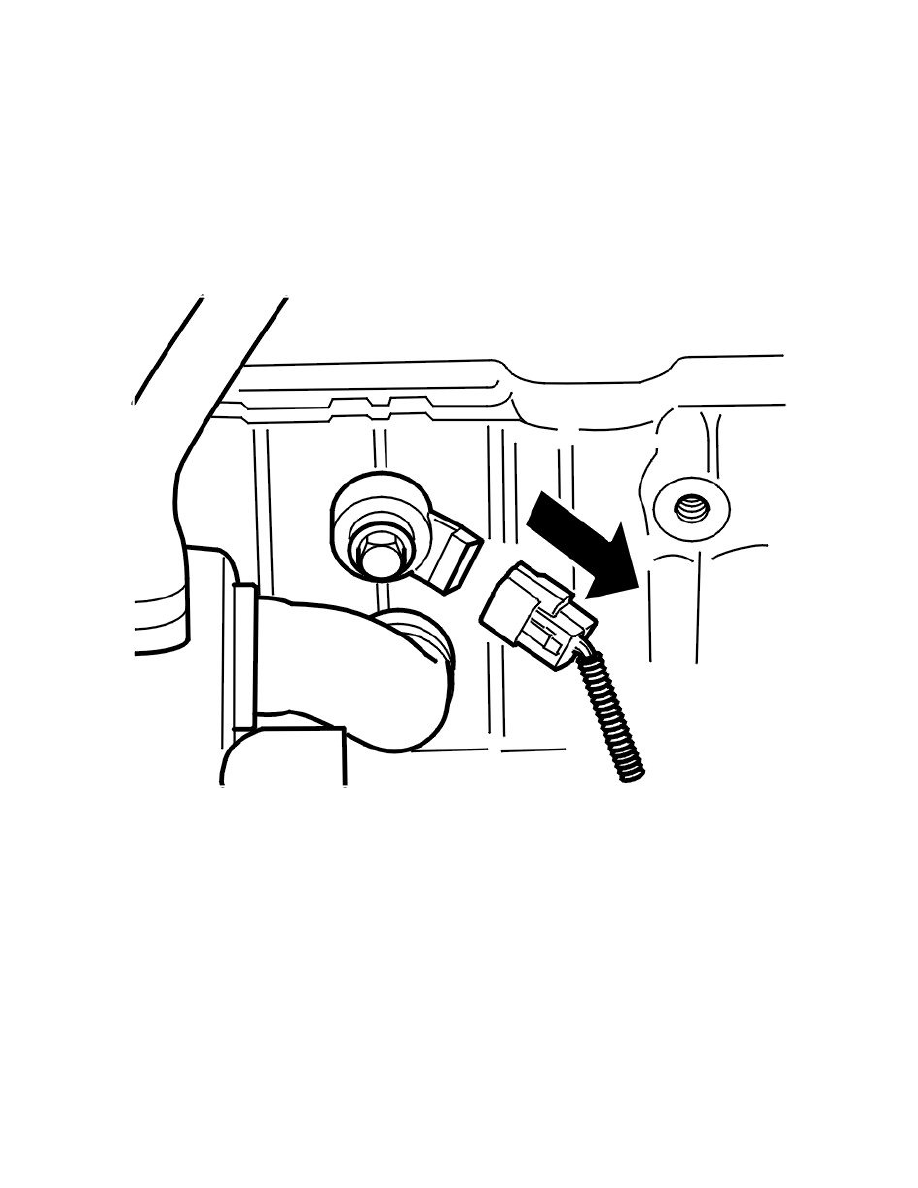
Manifold/Gasket, Replacing. Disconnect the connector. Pull the sensors downwards and past the rear edge of the starter motor bracket
-
the screws for the knock sensors (KS)
-
the tie strap by the connector.
Installing knock sensors (KS)
Note! For tightening torques, see Tightening torque See: Engine, Cooling and Exhaust/Engine/Specifications/Mechanical
Specifications/Tightening Torque.
-
Install the knock sensor (KS). Tighten according to Tightening torque See: Engine, Cooling and Exhaust/Engine/Specifications/Mechanical
Specifications/Tightening Torque. Adjust the sensor to the 4 o'clock position.
Caution! Tighten to the correct torque to prevent affecting the function of the sensor.
-
Connect the connector to the sensor
-
Install the intake manifold. See Intake manifold/gasket, replacing See: Engine, Cooling and Exhaust/Engine/Intake Manifold/Service and
Repair/Intake Manifold/Gasket, Replacing.