
S60 2.5T AWD L5-2.5L Turbo VIN 59 B5254T2 (2004)
-
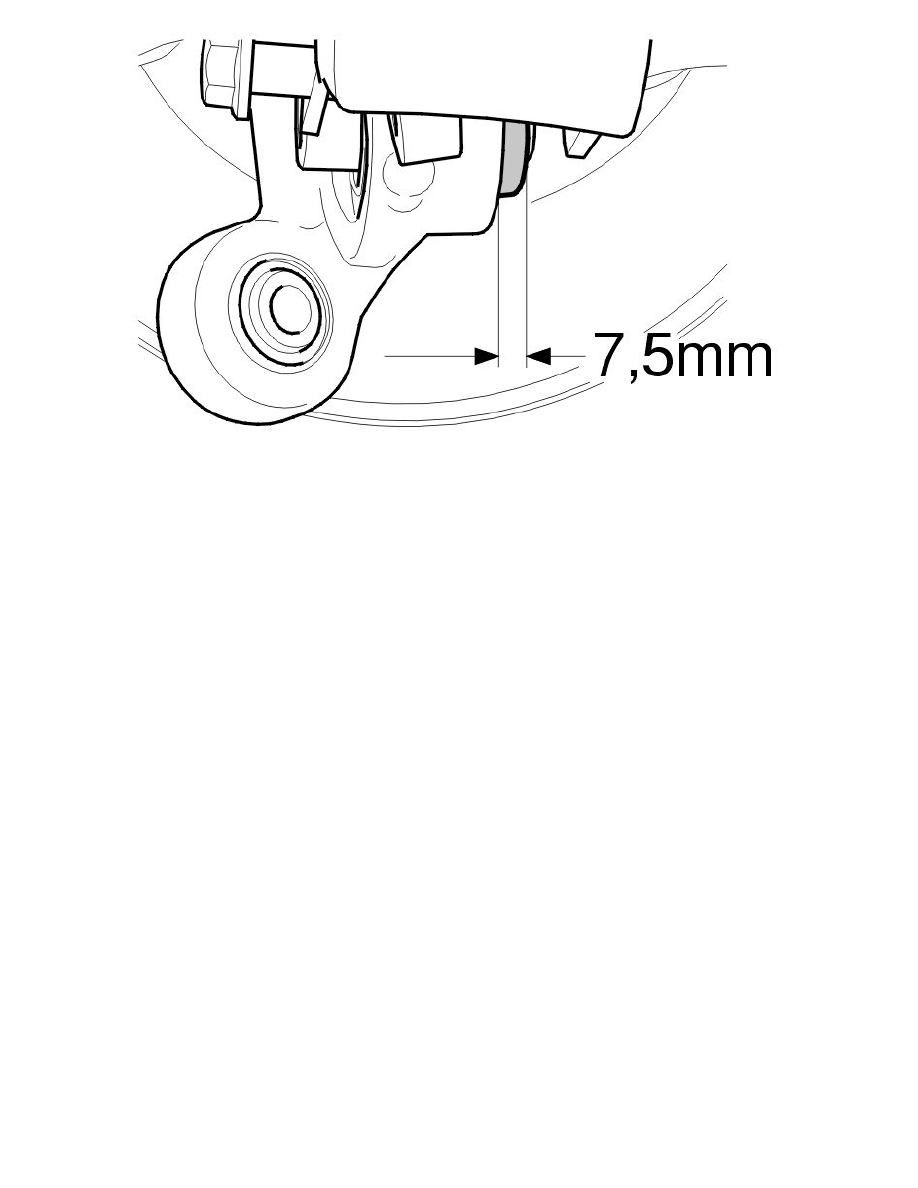
Pull the bushing.
Note! 8 mm of the bushing must be visible when in the correct position.
-
Remove the hydraulic cylinder.
Installing tie rod
Remove the screw for the control arm mounting and tool 999 7046 Drift See: Tools and Equipment/999 7046 Drift.
Turn the spindle into position.
Install:
-
the screw for the control arm mounting
-
the screw for the tie rod
-
the screw for the mounting of the outer drive shaft.
Note! Do not tighten the screw for the bushing mountings. This is carried out later when the rear suspension is in the normal position.
Installing the lateral link
Install:
-
the retaining strap and secure the lower control arm slightly against the jacking point
-
the lateral link screw.
Tightening the stay and mountings
Press the suspension up to its normal position, see Normal position See: Service and Repair/Procedures/Normal Position.
Tighten:
-
both the mountings for the lateral link. Tighten to 80 Nm
-
the outer mounting for the tie rod. Tighten to 80 Nm
-
the control arm mounting. Tighten to 80 Nm
-
the drive shaft mounting. Tighten to 50 Nm.
Installing the shock absorber