
S70 L5-2.4L VIN 61 B5244S (2000)
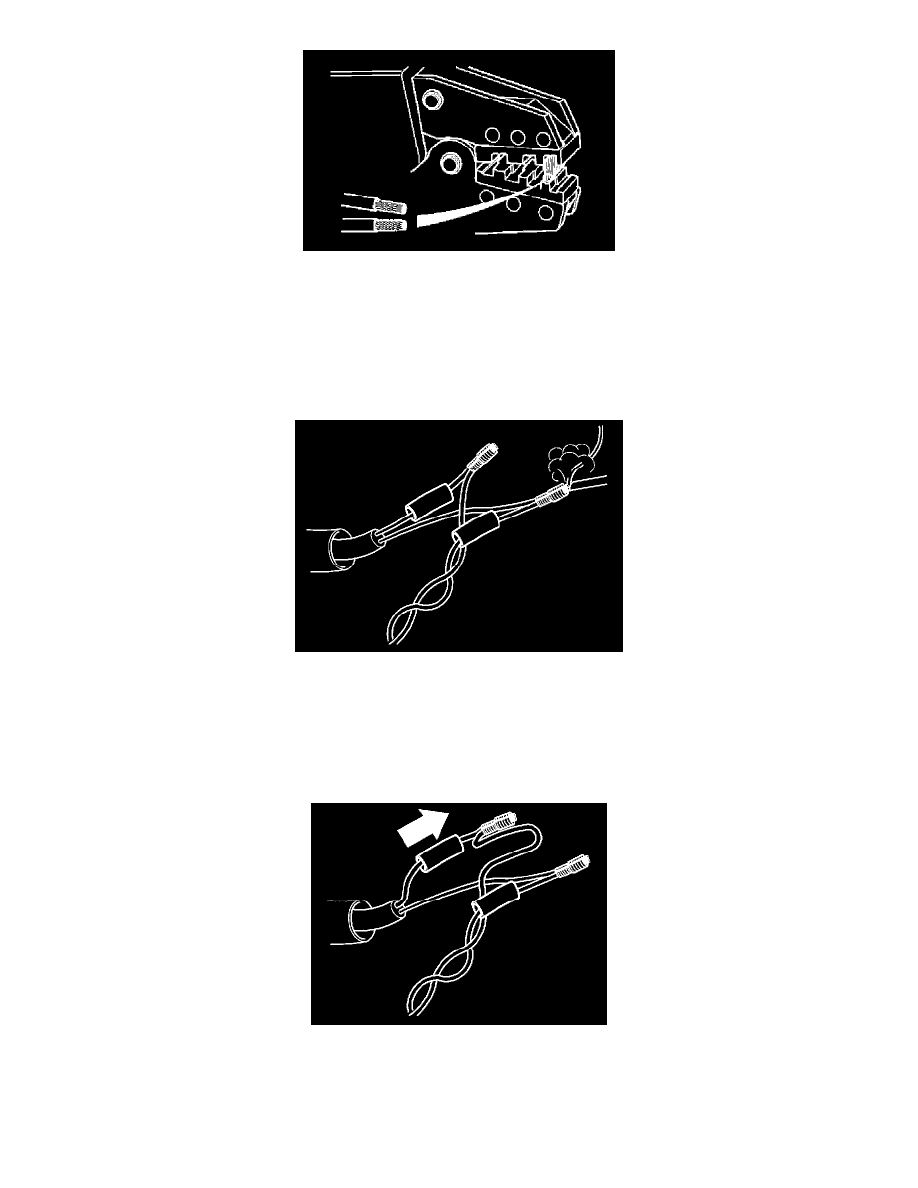
Take the crimping tool with crimping sleeve to the car
Put both cable ends in the crimping sleeve in the tool. Insert cables in crimping sleeve so that their insulation comes up to but not into the crimping
sleeve. Both cables should be inserted from the same direction (parallel).
Note: Insert cables in the crimping tool on the side without text!
Squeeze crimping sleeve into place.
Check by hand that crimping sleeve is secure.
When one cable pair has been spliced, cut and splice the remaining cable pair.
When the cable ends are joined, solder the tops of the conductors outside the crimping sleeves. This work may only be carried out by a professional,
accustomed to soldering electrical components.
Set up an extractor by the soldering site.
Take care of adjacent cables. If necessary set up a heat shield.
Heat the crimping sleeve/conducting unit ends with the soldering iron. Heat thoroughly. Apply solder so that some runs into the crimping sleeve
covering the conducting units.
Installing heat-shrink tubing on cable splice
^
Fold both cable splices as illustrated (arrow).
^
Carefully pull the heat-shrink tubing over the soldered cable splices. (The cable ends should be inside the tubing).