
S70 L5-2.4L VIN 61 B5244S (2000)
Raise the car.
Remove:
-
the right front wheel
-
the nuts for the cover in the fender liner.
Install the upper timing belt cover.
Turn the crankshaft clockwise until the markings on the crankshaft and camshaft pulley correspond.
Remove the upper timing belt cover.
Removing the timing belt
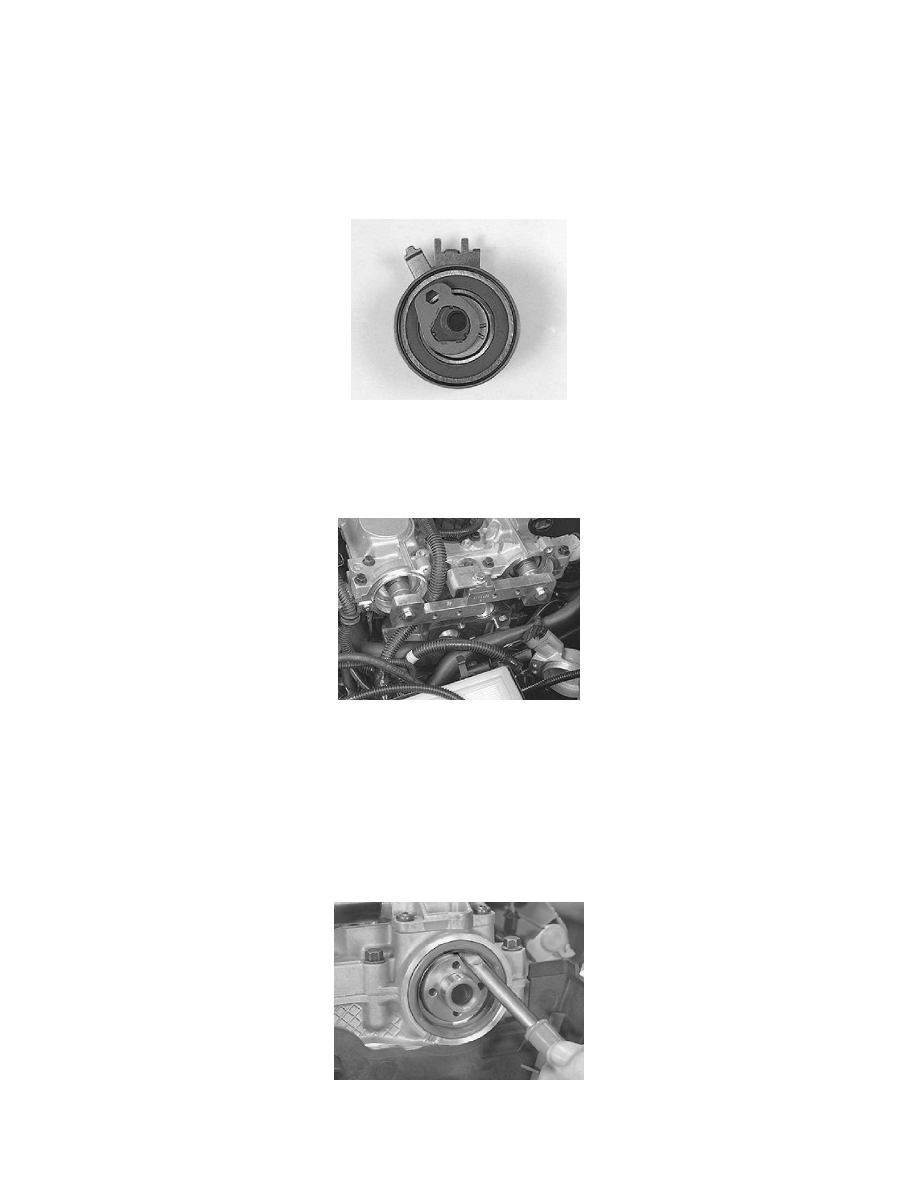
Slacken oft the belt tensioner.
Slacken off the center screw for the belt tensioner slightly.
Hold the center screw in place. Turn the tensioner eccentric clockwise to 10 o'clock using a 6 mm Allen key.
Remove the timing belt from the camshaft pulleys.
Removing the timing gear pulley with the variable valve timing unit
Use camshaft adjustment tool:
-
Install camshaft adjustment tool 999 5452 at the rear of the camshafts.
Remove:
-
the plug at the front edge of the variable valve timing unit (TORX 55)
-
the center screw in the variable valve timing unit (TORX 55).
Carefully pull out the timing gear pulley with the WTunit
-
timing gear pulley without VVT
-
the screws and the timing gear pulley.
Replacing the camshaft seal
Carefully press in tool 999 5651 between the sealing ring and the camshaft.
Carefully pry out the seal.