
S80 L5-2.5L Turbo VIN 59 B5254T2 (2004)
Note! Do not tighten so hard that the toothed segment goes into the bushing on the wheel spindle.
Install:
-
the link for the inner mounting for the control arm. Finger tighten
-
the lower control arm on the sub-frame. Finger tighten
-
the lower control arm on the wheel spindle. Finger tighten
-
the tie rod. Finger tighten
-
the link for the anti-roll bar. Use 2 x M12 screws. Use a Torx wrench as a counterhold so that the boot is not damaged.
Press the control arm to the normal position using a mobile jack. See Normal position See: Service and Repair/Procedures.
Tighten:
-
the 2 x M12 screws for the upper control arm
-
the 2 x M12 screws for the lower control arm
-
the link at the inner mounting on the control arm on the sub-frame. Use an M12 screw
-
the 2 M12 screws for the tie rod.
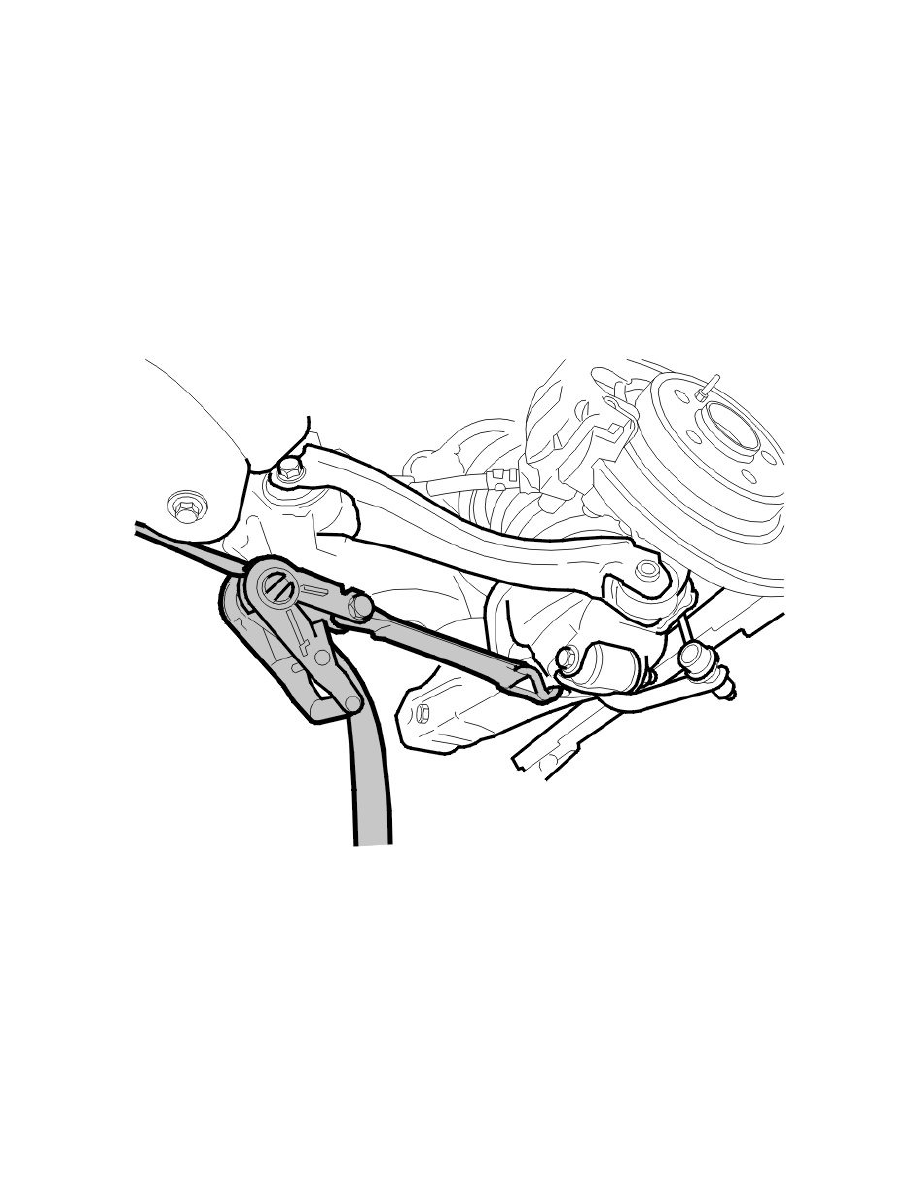
Installing the lateral link
Tension the lower control arm slightly against the jacking point. Use the retaining strap.
Install lateral link. 2 x M12 screws.
Remove the mobile jack and the retaining strap.
Installing the shock absorber