
S80 T6 Executive L6-2.8L Turbo VIN 90 B6284T (2001)
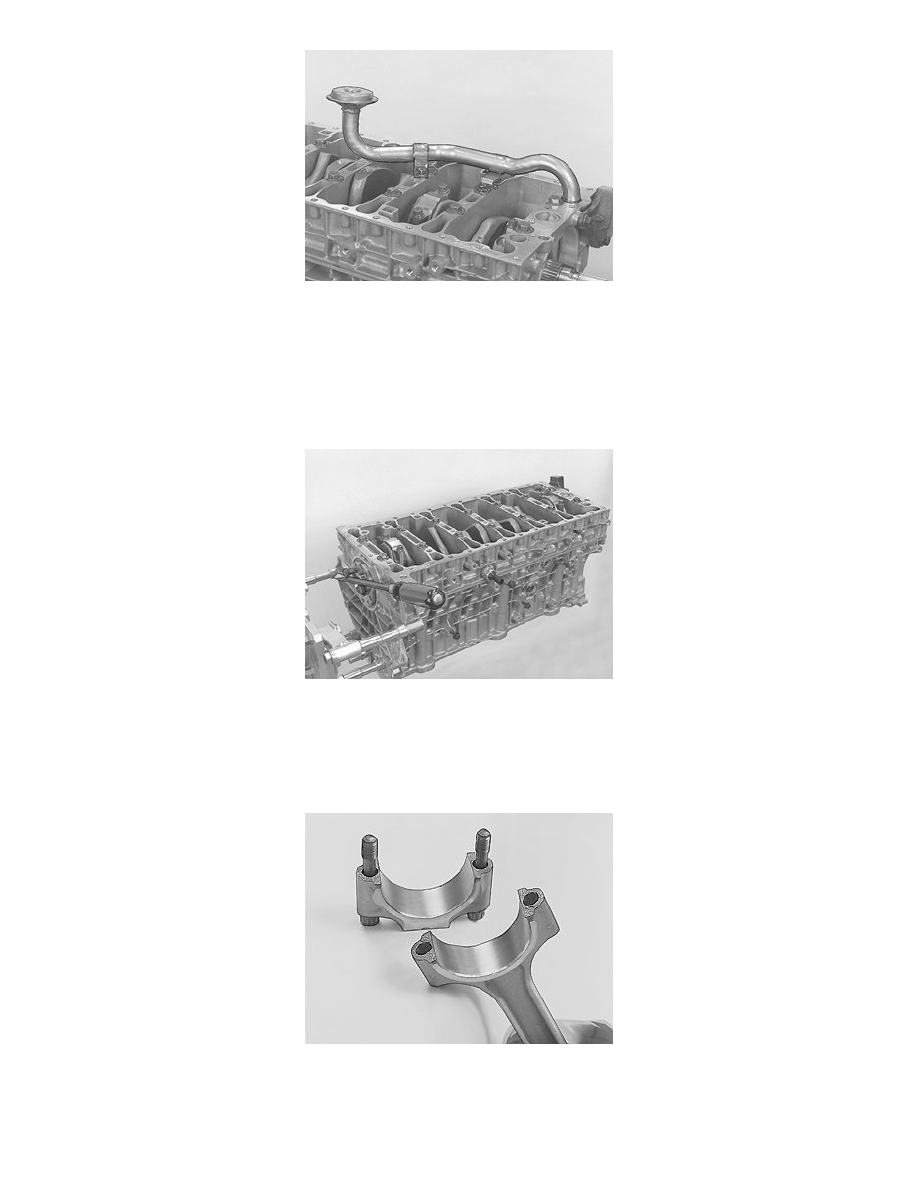
Remove the suction pipe.
Remove the O-rings from the oil ducts.
Remove the screws securing the suction pipe to the intermediate section.
Work loose and lift out the suction pipe.
Remove the suction pipe O-ring.
Check the pipe and the strainer. Clean thoroughly.
Checking markings
Install the two old screws for the flywheel and carrier plate at the rear edge of the crankshaft.
Turn the crankshaft so the piston in cylinder 1 is at bottom dead center (BDC).
Check that there are markings on the cap and connecting rods and check which way the markings are positioned (exhaust / intake side). Note this.
If necessary mark with a center punch or a number punch.
New connecting rod
A new connecting rod has been introduced on B6294S engines.
The mating surface between the cap and the connecting rod is not machined. It is aligned through a dedicated fracture surface.
Caution! If the cap is turned the wrong way and tightened, the structure of the fracture surface will be damaged and the connecting rod must
then be discarded.