
V50 L5-2.4L VIN 39 B5244S7 (2005)
connector in the a-pillar.
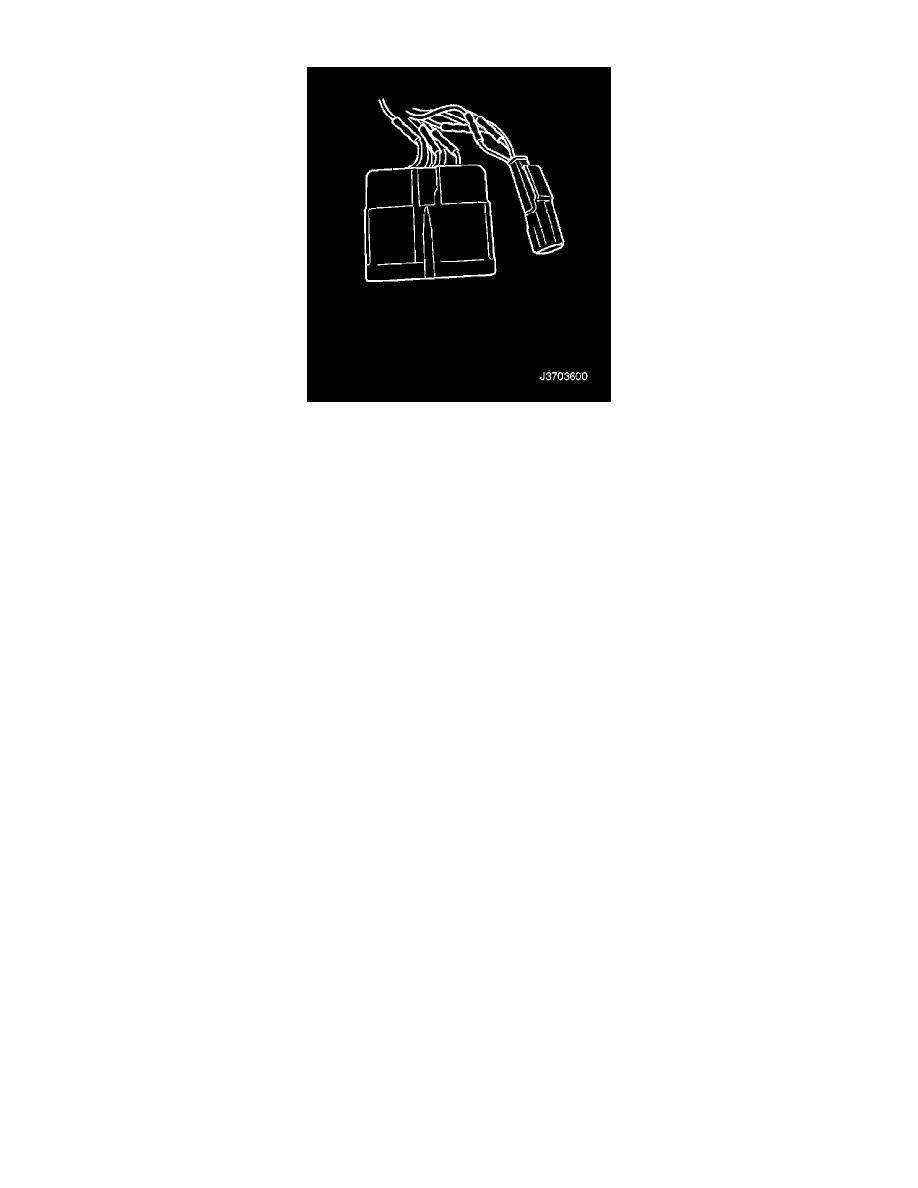
10.
Installing connector
Splice in the new moisture-proof connector
(the small connector is only used for the left
door).
Caution! Make sure that you splice the right lead,
color to color.
Splicing lead, see:
Repair and installation
Section Leads and fuses
Leads
Install the new connector in the a-pillar. The
16-pin connector must be installed in the
front section of the rubber conduit with the
small connector in the rear section when
installed in the vehicle.