
V70 2.4 L5-2.4L VIN 61 B5244S (2001)
Note! When the center screw comes into contact with the diaphragm spring, the screw should, for a loose clutch, be tightened a maximum of
4-4.5 turns.
Applies only to certain engine versions with self adjusting clutches:
Note! When the center screw comes into contact with the diaphragm spring, the screw should, for a loose clutch, be tightened 4.5 - 5 turns or
until a clear click is heard.
Installing the clutch
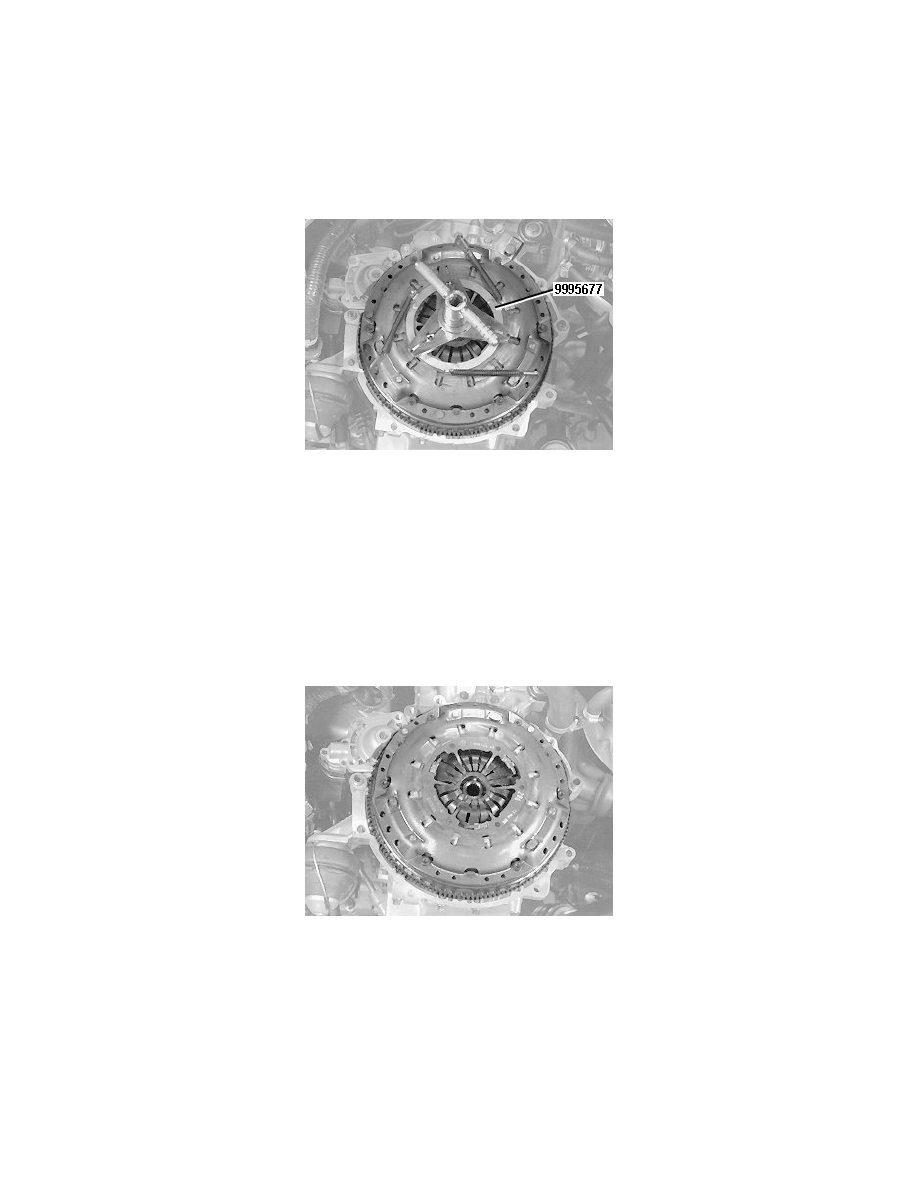
Applies only to certain engine versions with self adjusting clutches:
Check that the clutch automatic adjustment is secured with counterhold 999 5677 Counterhold See: Tools and Equipment/999 5677 Counterhold.
Applies to all clutch versions:
Install the clutch and locate the guide pins.
Check that the clutch is in contact with the flywheel all around its circumference.
Carefully tighten the six screws, crosswise, so that the clutch is guided up onto the guide pins and lies in contact all around with the flywheel.
Tighten the screws crosswise. Tighten to 25 Nm.
Removing the tools
Screw out the center screw. Remove the compression tool.
Note! Applies only to certain engine versions with self adjusting clutches: Keep fingers away from the three clutch rivets when relieving a load
or removing the compression tool. There is a risk of clamping injuries.
Applies to all clutch versions:
Remove the hooks. Remove the counterhold.
Remove the centering cone from the clutch driven plate.
Remove the socket. Tap the centering tool lightly with a rubber mallet so that the expander releases. Use a rubber mallet so that the threads are not
damaged. Remove the centering tool.
Remove the flywheel gear sector. Check the flywheel. See Flywheel, checking, B5254T2, M58, B5244T5, M66, B5254T2, M56 See: Manual